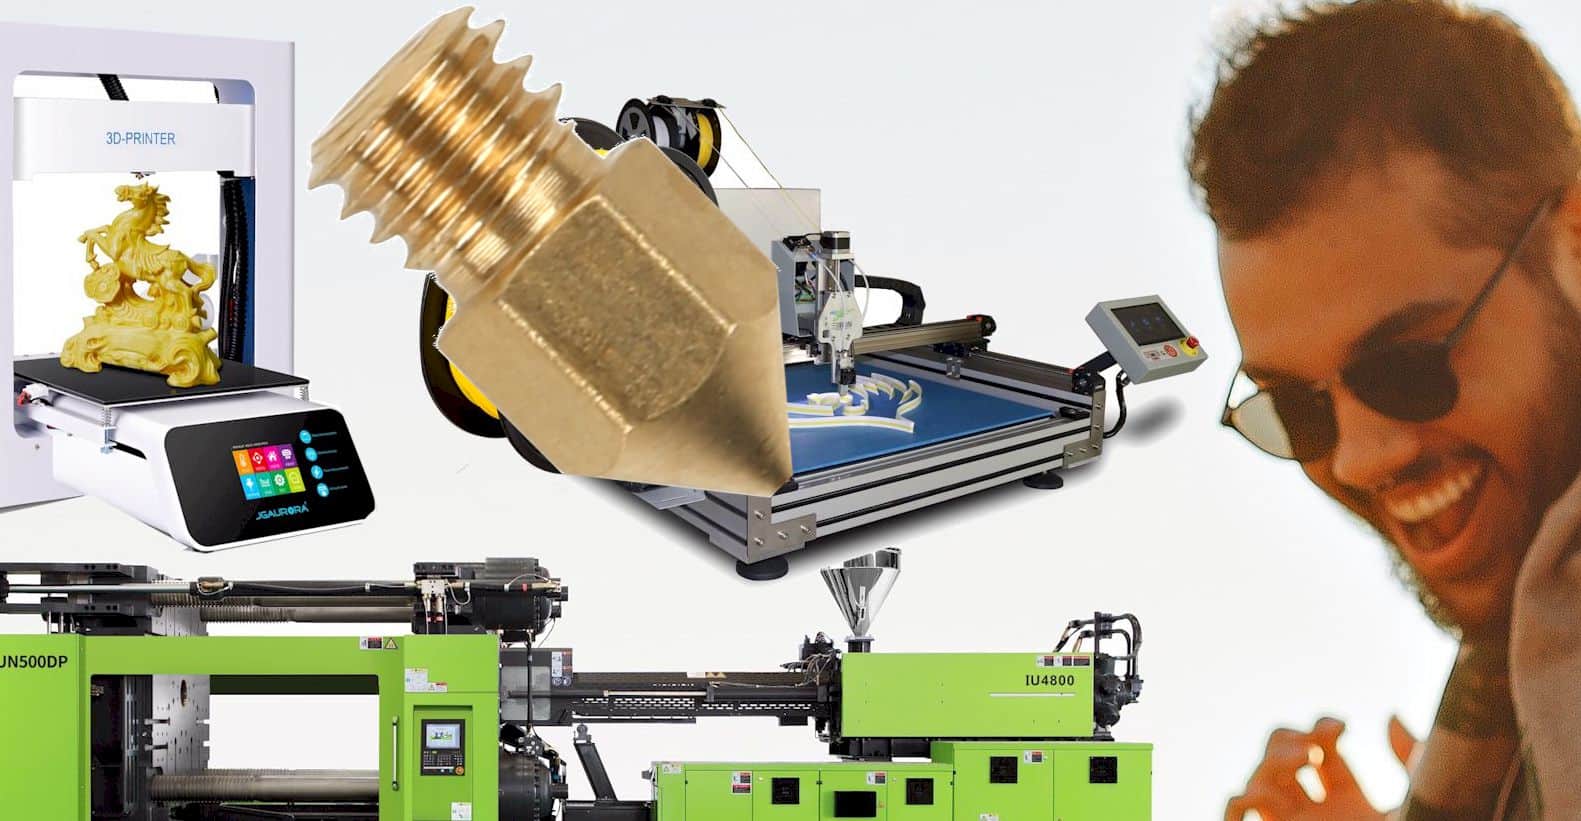
Everything flows smoothly when our 3D printer works perfectly. With the nozzle in good condition, you can create amazing prints with the 3D printer. The 3D printing technology is no doubt reimaging our lives and altering product and object production.
You can print out any objects you desire from clothes, toys, etc. But if this wonder machine is not treated properly, you’ll barely be able to create what you desire. One of the ways to take care of your 3D printer is to clean its nozzle.
That way, you’ll get the best result from the printer. Wondering what the best way to clean 3d printer nozzle is? Stick with us; let’s dive in.
Symptoms of clogged Nozzle and Causes
Think your 3D printer nozzle is clogged? Here are some of the symptoms that certify that your 3D printer nozzle is bad without a shadow of a doubt. If you notice any of these symptoms with your 3D printer, do not hesitate to clean the printer nozzle.
- Feed rate adjustment: One of the symptoms of a clogged nozzle that you would experience is that the feed rate and the flow would constantly require adjustment. In essence, you’d find that you keep needing to adjust the feed rate over and over again. If this happens too many times, you should start to suspect that the nozzle is clogged. Hence, the next step should be to try to clean the nozzle so that you get your 3D printer working effectively and without problems again.
- Wrong Nozzle Height: There is the perfect height for your nozzle when it comes to 3D printing. It has to be correctly placed from the surface. If not, it could eventually clog your nozzle. If the nozzle is too high apart from the printing surface, the temperature will get cold before the printing material reaches the surface. When the printing material is too far from the surface, you won’t get your desired result, and you’ll eventually be faced with the problem of a clogged nozzle. Likewise, if the nozzle is placed too low to become too close to the printing surface, the printing material won’t extrude properly. Hence, it would start to back up into the nozzle, resulting in a clogged nozzle. When setting up your 3D printer, it is important to get the nozzle height correctly. The manufacturer should have instructed you on how to go about it via the manual that accompanies it. Better still, if you do not understand the setup phase, consult a professional at setting up the 3D printer to help you with the setup.
- Low Filament Quality: If the filament you have is not high quality, it would eventually clog the 3D printer nozzle. Here’s why! A low-quality filament would certainly have different widths. Also, some of the filament diameters would be thicker than the other parts of the filament. When some part of the filament is thicker, the melting time of such filament would be longer than usual. As a result, it would have problems extruding, leading to a clog in the nozzle. Before you adopt any filament, be sure that it has been subjected to a rigorous tolerance test that proves it is a high-quality filament.
- Dirt and Dust: It seems like it is normal for almost every machine or gadget we own to naturally magnet specks of dust and dirt to itself after a while. When this happens with your 3D printer, it can cause a clogged nozzle. Once dust and dirt start to rest on your filament, they find their way to the nozzle and start to stick to it in the form of carbon. When carbon piles up in the nozzle, it gradually closes the nozzle opening. The flow of material is then affected, and your nozzle gets clogged. Hence, it is important to keep your nozzle clean occasionally.
How to clean 3d printer nozzle
When it comes to cleaning extruder nozzles, different methods can be used. The best method to adopt depends on how clogged your 3D printer is. For instance, is it fully clogged or partially clogged? Either way, you decide which method is best fitted for how clogged your 3D printer nozzle is. Once decided, select and adopt the best way to clean 3d printer nozzle from our list.
Related: Ender 3 retraction settings
METHOD ONE: The Brass wire brush method.
- Step one: Get yourself a brass wire brush.
- Step Two: Gently brush off the residue visible to the eyes on the nozzle.
It is worthy of note that a brass wire brush should be used for this method to be effective. The reason is simple. Using a steel wire brush would be too harsh on the nozzle and could, in the long run, induce damage to it.
METHOD TWO: The Hot Pull method
- Step One: To adopt this method, get either nylon or a 3d printer cleaning filament. Whichever you get, ensure that the cleaning or nylon filament diameter is similar to the filament you print with.
- Step Two: Preheat the Nozzle to 200 or 250-degree C.
- Step Three: Cut a piece of your cleaning or nylon filament. Ensure it is long enough to slide into the nozzle without the nozzle frying your fingers.
- Step Four: Then, slide the filament into the nozzle and wait for a couple of seconds after it goes into the nozzle to let it melt a little bit, enough to accumulate dirt. Then, quickly pull it out.
- Step Five: Once you pull out the filament, it would have accumulated dirt. If your filament is long, you can cut away the part that accumulated dirt. If it is short, proceed to cut out another filament and start over.
Continue this process until your filament comes out clean after going into the nozzle.
METHOD THREE: The Cold Pull Method
- Step One: You’ll also require a cleaning or nylon filament to do a cold pull.
- Step Two: Preheat the Nozzle to 200 or 250-degree C.
- Step Three: Push your filament in and keep pressure on it.
- Step Four: While keeping the pressure on it, turn off the preheat so that it cools down.
- Step Five: While the temperature drops, keep pushing the filament into the nozzle.
- Step Six: Wait till it drops to 100 or 90 degrees to pull out the filament.
This 3d printer cold pull method might extract a lot more dirt compared to the hot pull method. Nevertheless, it follows a longer process compared to the hot pull process. The cold pull is also more extreme as it requires you to apply pressure on the filament when pushing it into the nozzle and pulling it out.
METHOD FOUR: The Acetone Method
- Step One: For starters, this method works to eliminate filament residue that might be left. So, start by removing the nozzle. Next, you’ll need a crescent and socket wrench to take off the nozzle.
- Step Two: Pour an amount of Acetone into a small container and drop the nozzle into the container of acetone.
- Step Three: Wait for 15 minutes so that the exterior dirt would dissolve in the
- Step Four: Take the nozzle out of the acetone chemical and clean it with a clean cloth.
- Step Five: Using a heat gun or bullet torch, burn the nozzle for one minute by simply waving the torch or heat gun over the nozzle.
- Step Six: Run a thin wire through the nozzle to kick out stubborn residues still resident in the nozzle. If the thin wire still won’t go through the nozzle, repeat the burning process in step five and try to run the thin wire through the nozzle hole again. Do not force the wire through. Instead, ensure that it goes all the way through the nozzle all by itself. Feel free to keep repeating steps five and six until you can break through the nozzle with ease.
How to Prevent the clogging of your nozzle?
As the famous saying goes, “prevention is better than cure,” there are quite a few things you can do to avoid the clogged nozzle problem. Rather than go through the stress of unclogging your 3D printer nozzle now and then, it’s best to take these measures. They reduce the rate at which your 3D printer nozzle gets clogged. Ready, set, let’s dig in.
- Different Nozzles and Heating Block Assemblies: 3D printer manufacturers always advise their end-users to have several nozzles and heating block assemblies. These nozzles and heating block assemblies should be used with the different materials required for 3D printing. This advice is quite logical because different materials are compatible with different nozzle types and heating block assemblies.
- Load Materials Carefully: Loading new material onto the print head might seem like a stressful job. And yes, we get it! It can truly be stressful. However, if you don’t think you are in the mood or have the strength to go through the stress of loading new material to the print head, then take a break. You can always do it later when you do not feel the pressure. Or you could ask a friend who is good at loading new material onto the print head to help you out. If you load the material under stress or in a rush, you might be tempted to load the material by force into the printing head. When that happens, your nozzle will get clogged in no time due to a material building up inside the print head.
- Load Material with Hot temperature: So, you’ve finally decided to load the new material. That’s great news. However, the perfect technique to loading your new material into the 3D printer without eventually clogging the nozzle is to do it while the print head is hot. That way, the material wouldn’t cool off, which is another way to get the nozzle clogged.
Other preventive methods that should be adopted includes
- Cleaning the printer before you make use of it.
- If you can, clean the nozzle before and immediately after you print your next object.
- Clean out the printing bed using a fine spatula and lukewarm water to rinse weekly.
- Daily clean the nozzle with either a metal or toothbrush and a needle. If you are not sure about needles, a good substitute is a wire brush, guitar strings, or toothpick. Paper clips can also work.
- Every once in a month, clean and oil the bearings and the round rods
- Monthly, change the lubricant from spindles.
- Look out for software updates once a month.
- Perform monthly recalibration of the printer. Etc.
How to replace the Nozzle?
Sometimes, you need to maintain your 3D printer and its parts, elements by cleaning, lubricating, updating, etc. These actions are great ways to avoid your nozzle getting clogged. Other times, however, your nozzle might be too worn out to keep maintaining. In this case, you need to hit the market to shop for a new nozzle. When you get your new nozzle, here’s how to smoothly replace your nozzle.
Further reading: How to replace nozzle on ender 3 pro
To replace your nozzle, you’ll need the following:
A crescent wrench or multi blots
Socket Wrench, Small Wrench, e3d nozzle wrench.
- Step One: Heat hotend to 260-degree C or close to the maximum heat limit of your 3D printer. This expands the metal, making it easier to remove or replace the nozzle. Also, heating the hotend first prevents you from ruining the print head one way or another.
- Step Two: Remove the nozzle. With the help of the crescent wrench or multi bots, hold on to the heater block. Then, unscrew the nozzle with the Socket wrench, small wrench, or e3d nozzle wrench. Be careful, so your skin doesn’t come in contact with the hotend. Once the old nozzle is off, set it on the table and allow it to cool off before touching it.
- Step Three: Add your new nozzle. Start by heating the hotend. Ensure you heat it beyond the degree required for what you want to print. Then, using your hand, install the nozzle quickly. Then, screw it with the wrench. You have to be fast about it so that it doesn’t start to burn.
Viola! You have successfully replaced your nozzle.
Click here to find the Best 3d Printer for Miniatures 2022
Last Words
Now that you know everything about how to clean 3d printer nozzle, be sure to schedule a time- daily or weekly, to clean your nozzle. It would also be great if you’ll take the measure to prevent your nozzle from clogging. It makes it easier to maintain your 3D printer.
Also, it prolongs the lifespan of your 3D printer. One of the benefits of using your 3D printer well is that you can consider reselling it later when you want to get a new and upgraded 3D printer.
Like human beings, a 3D printer nozzle deserves to be taken care of. Consequently, you’ll enjoy your workflow on the printer. With this information supplied to you, you can now easily clean and replace your 3D printer nozzle. Good luck to you.
Contents