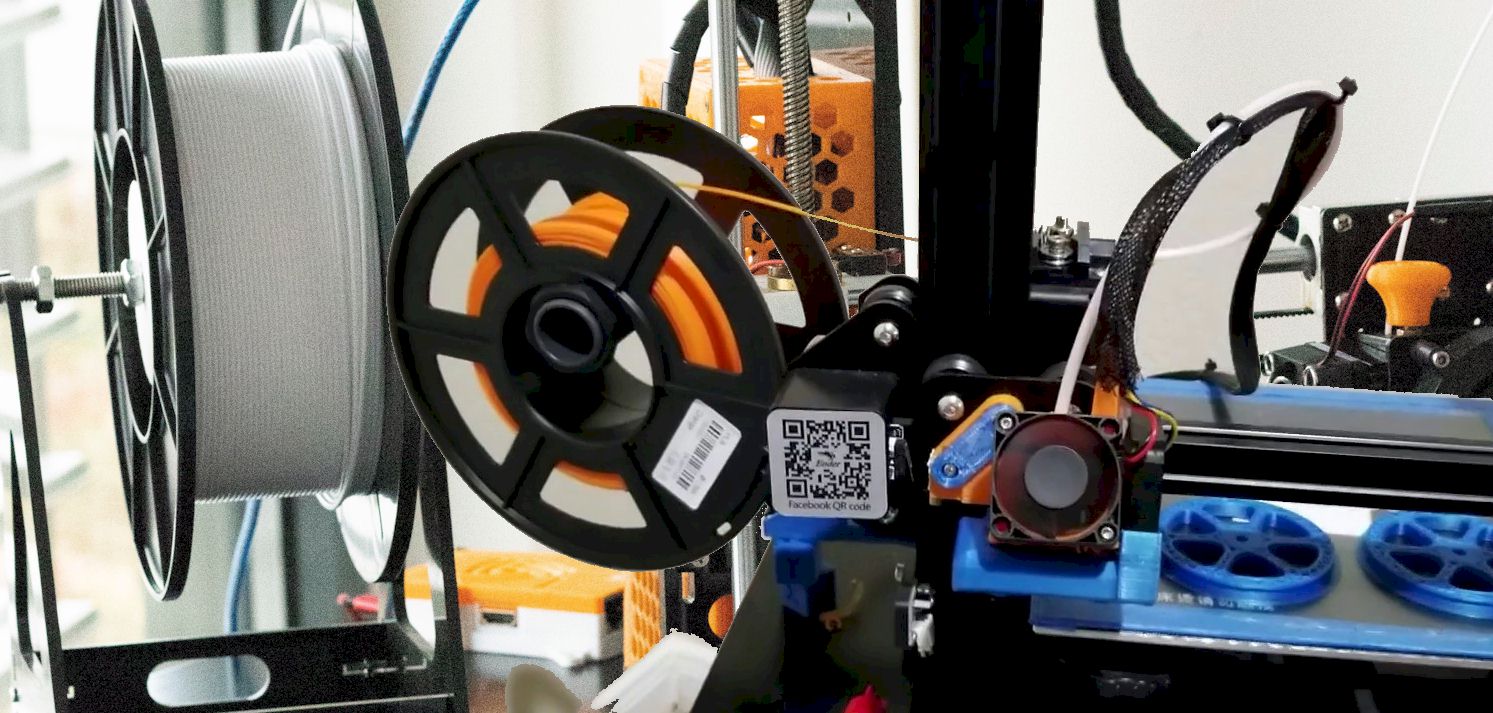
Whenever you are getting into 3D printing, the Creality Ender 3 printer is a name that will pop up often. While it’s a great beginner-friendly 3D printer, it has its issues that you have to tackle. One of those issues is Ender 3 filament not feeding properly.
The thing is, you can easily fix the issue simultaneously. Usually, a clogged nozzle will cause the problem that the ender 3 filament is not feeding. So, you can use needles or brush wires to unclog the nozzles and fix the issue.
A bit confused? Well, it’s obvious; that’s why I will be diving deep into this to clear out all your confusion. So, if you are going through this issue where your filament is not feeding, then you should read the whole thing.
Why isn’t your filament feeding properly?
That can be troublesome when the filament on your 3D printer isn’t feeding properly. Usually, there are two prime causes for this issue to happen. One is a clogged nozzle which is the most common reason. And the other one is the nozzle being too close to your print bed.
Let’s check out how these impact filament is feeding in-depth, and then I will get into the solutions to these.
Clogged nozzle
There are plenty of things that can cause your nozzle to get clogged. Sometimes, it can be pretty serious, and sometimes it’s just your regular dirt and dust clogging it. Let’s get through these causes one by one –
Bad temperature settings
Among other things, a bad printing temperature can significantly contribute to clogging up your printer nozzle. Here’s how it works.
When your temperature is on the lower end, it fails to melt the filament properly. As a result, it gets very hard to extrude the filament from the nozzle. Eventually, the pressure inside the nozzle gets too high, resulting in the left-out filament inside the nozzle hardening. Thus, your nozzle ends up clogged.
The opposite can also result in clogging up your nozzle. I mean, when the temperature gets too high, it can start melting the filament before the perfect time. Because of that, the drive gears can’t keep up with the speed of the melted filaments and push them out. Thus, the softened filament stays inside the nozzle for a longer time and gets clogged at some point.
Dust and dirt buildup
This is something you may not notice but can seriously damage the whole printing process. When you start the printing process, dust or dirt stuck on the nozzle can burn up and stay on the nozzle. Because of that, the filament flow will stop, and it won’t feed properly.
This issue can go unnoticed, unlike the bad temperature one. You don’t truly get to see the dust or dirt building up on the nozzle since they are so tiny. So, I would say this is more of a serious concern, but it’s easy to prevent this from happening as well. I will discuss that later on in this article.
Low filament quality
Sometimes the issue is as simple as using cheap quality filaments. With cheap quality filaments, you can only expect to save money. If you are hoping to have flawless results from these filaments, then I am sorry to say, you will surely be disappointed every time.
The low-quality filaments can’t get through the situations or conditions of your printer because they don’t go through proper testing measures to see whether they can hold up in the 3D printing process or not. Also, the lack of consistency in their melting point doesn’t make sense in most cases. As a result, they will eventually end up clogging up your 3D printer.
The nozzle is too closer to your print bed.
I mean, it’s pretty easy to understand. If the nozzle and print bed are too close to each other, the filament won’t have enough space to extrude.
When there is not enough space for the filament to work around, it gets stuck inside the nozzle. Also, the fact that the print bed is too close makes the filament smear all over the bed. Essentially, what you end up with here is a mess of filament.
The filament may also try to get back inside the nozzle with the lack of space. This results in clogging up the nozzle too. So, that’s another cause for clogging up the nozzle of your 3D printer.
So, these are the typical reasons that can cause your filament to not feed properly in your printer. Luckily, you can either solve these issues or avoid them with some definitive measures.
Solving the filament not feeding issue on an Ender 3
The only solution you can try is to clear up the clog on your 3D printer nozzle most of the time. There are several ways to do it. You can do some things to prevent the clogging, and then there is, of course, unclogging the nozzle. I will go through both of them.
Unclogging the nozzle
First, let’s talk about unclogging the nozzle. There are two parts to this thing. You may either have to deal with a nozzle that’s partially clogged. Or it will simply be a fully clogged nozzle.
Clearing a partial clog
To clear up a partially clogged nozzle, you can try things like brass wires to brush off the clog. This works out well for cleaning the outside of the nozzle. It’s more of a manual method to clear up the clog.
Another solution for clearing a partial clog is to heat the hot end of the nozzle and keep pushing the filament until it’s clean. This can sometimes help a lot in clearing the clog that’s not affecting the nozzle completely.
You can also try using cleaning filament. The whole purpose of these filaments is to clear up any kind of clog you may have with the printer. There are lots of options for cleaning filaments out there that you can try out for your purpose.
Clearing a complete clog
Now, let’s move on to the solution for clearing a completely clogged printer nozzle. If you want to keep things straightforward, then you can simply use needles or strings to clear up the clog.
Make sure the needle or string you choose has a diameter to get into the nozzle for cleaning. All you have to do is push the needle inside to break the clog. And then, extruding the printer helps out cleaning up the clog completely.
Another solution to try out is the use of acetone. But for this to work, you will need to remove the nozzle from your printer.
After removing the nozzle, simply dip the nozzle in an acetone solution for about a day. While it’s dipped, make sure to move it around or shake the container you are using to dip it. This helps in removing all the hardened obstructions.
Once you take out the nozzle after a day, all the clog should be cleared up. Finish off the whole thing by wiping the nozzle with a towel to remove all the acetone.
The last solution you can try out is to use the heating gun. You can consider this as a forced solution if nothing else works out. Here, you will be using a heating gun to melt the clogged filament. In this case, I would recommend you remove the nozzle, so you don’t end up damaging the printer somehow.
Also, if you are using a blowtorch instead of a heating gun, don’t let the nozzle come in direct contact. Because with direct contact it will surely get damaged.
Preventing the clogs
Aside from clearing up the clogs, it would help if you also cared about preventing this from happening in the future. For that purpose, you will need to do several things.
First of all, make sure to use the proper temperature settings. It’s best to follow the temperature settings recommended by the filament manufacturers. You won’t have to worry about filament not feeding properly with the proper hot end temperature.
Next up, make sure to keep the nozzle clean and free of dirt. You can do that by simply opting for a maintenance routine and keeping the printer covered when not in use. Don’t let the printer nozzle get dirty, and that’s pretty much it.
Try using the best quality filaments no matter what. You don’t want to risk your printer to save up a couple of bucks on the filaments. And lastly, make sure to maintain the accurate distance between the nozzle and the printing bed. You can find that out from different guides or simply through trial and error.
Conclusion
To sum up, with Ender 3 filament not feeding properly, it can get pretty annoying at times. Not only will you be wasting your time, but it can also risk using the printer entirely. And then there’s the obvious wastage of filament at the same time.
Now that you know how to fix this issue, it shouldn’t be much of a trouble. Still, I would say the best solution to this problem is to prevent it from happening in the first place.
Contents