Do you have the Creality Ender 3 3D printer in your arsenal? Are you in need of a laser engraver too? Then I have got great news for you. You can turn your Creality Ender 3 3D printer into a laser engraver with some upgrades and customizations.
So, how do you get your ender 3 laser engraver? The process is very simple; all you have to do is mount and install the module on your printer. Here, I will tell you all about turning your 3D printer into a laser engraver.
Let’s jump right into it without wasting much time.
What to consider for the upgrade?
The best part about this upgrade is that you don’t have to worry one bit about the safety and compatibility of your printer. Because there is an official laser engraver module from Creality which supports the feature in their Ender 3 printer, is it worth it, though?
Well, I would say it’s completely worth it if you do some lightweight laser engraving work every once in a while. Instead of buying a laser engraver which, by the way, is quite expensive, you can turn your printer into one at a much lower cost than that.
Now the real question is can anyone do it? Typically, anyone should be able to do it because the process is quite simple. You can follow along with the guide I share, or you can watch some tutorial videos from the ender 3 community as well.
Apart from these things, there is nothing you should be worried about the upgrade. As for the benefits, after the upgrade, you can engrave on wood, paper, acrylic, aluminum, and some metals as well.
Related: 3d Printer repair
How does it work?
It’s not unusual to wonder that how a printer can do the job of a laser engraver. While a 3D printer is an additive manufacturing machine, a laser engraver is a subtractive manufacturing tool. So, how does it work?
Well, you are not taking the basic functionality of the 3D printer here. You are taking power to power up the laser module you will install. The power of your laser, in this case, depends on how much power your 3D printer can get.
Once that’s out of the way, it’s pretty straightforward. Instead of the printer nozzle shooting filaments on the printer bed, the laser module will shoot laser beams on the engraving material. And that’s how your 3D printer turns into a laser engraver.
Upgrading an Ender 3 printer to a laser engraver
Let’s get to the real stuff here. To upgrade your Ender 3 and make it a laser engraver, you will need some items. So, first, let’s check out the items you will need for the upgrade.
Necessary components for the upgrade
First, I will list out the hardware that you will need to buy-
- The laser module from Creality or any other brand
- An engraving material such as wooden board or metal
- Safety gears for laser engraving
- Binders for stability while using a laser engraver
- A printhead mount is necessary for mounting the laser module
As for the software, you don’t need much. You can download the Creality workshop and G-code editor for some advanced settings. That’s all you will need to get the upgrade done. And, it doesn’t even cost half the price of getting a laser engraver. So, it’s a great deal you can grasp on.
Now, let’s get onto the real deal, how you will do it.
How to upgrade the ender 3 to a laser engraver
Don’t panic here; I will take you through this whole thing step by step. So, be patient and follow along with my instructions. Here’s how you do it-
- The first thing you have to do is mount the hardware. For that, you will have to turn the printer off.
- Next, remove the cover of the mainboard. You will need a screwdriver to unscrew the cover.
- Now, you will see some stepper motor ports inside there. Close to the ports, there is a part cooling fan connected to the fan port. Unplug that fan.
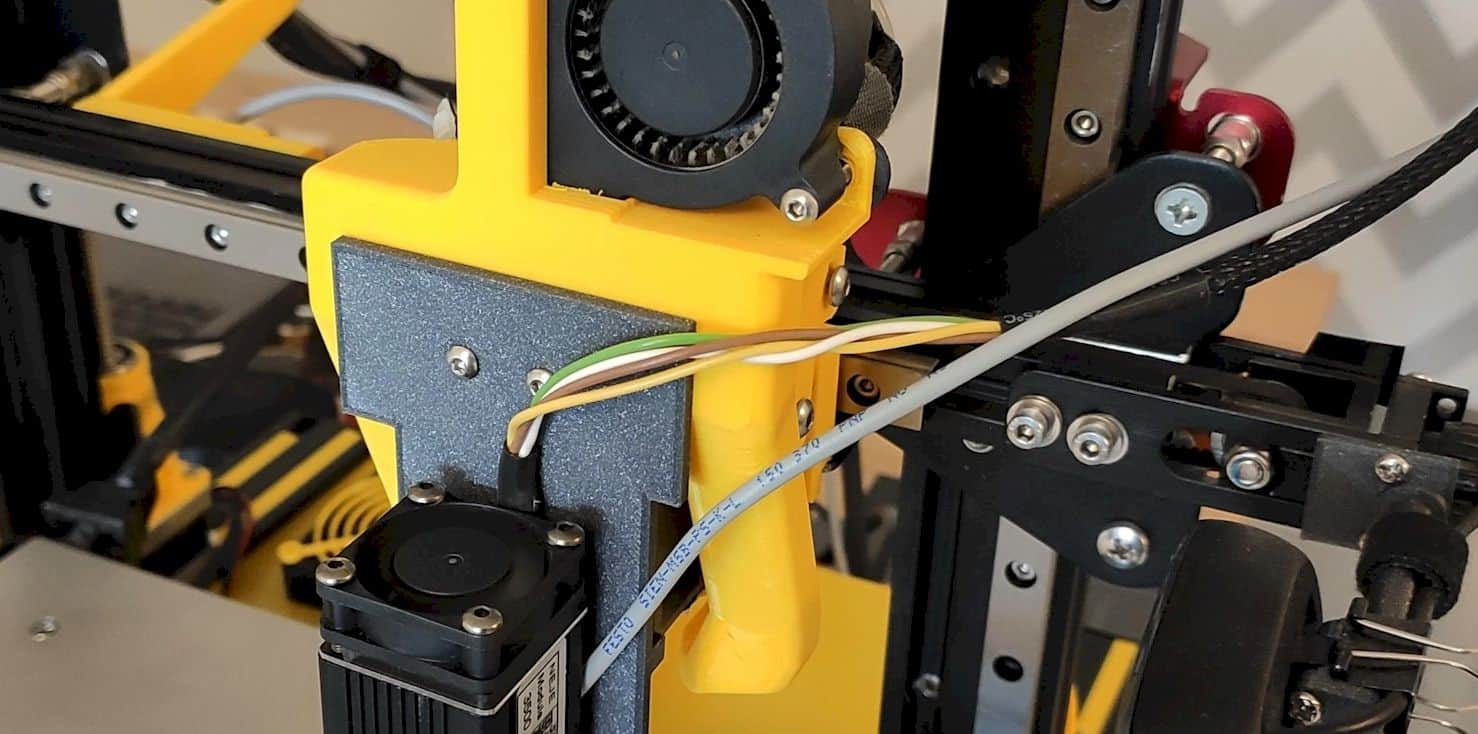
- Then, you have to connect the two wires of the laser module into that fan port. Make sure to tighten the connection properly, so it doesn’t come off.
- After that, you can place the cover back the way it was. Then screw it up.
- Next up, you have to do some wiring for the laser module. You will need to wire it up to the printhead then attach it. There should be some magnets on the module that will help in attaching it.
- Take some zip ties to do some cable management there. You don’t want to keep any wires hanging or tangling.
- Now, you take the engraving material or the wooden boards and attach them to the print bed. You can use the binders you got for this purpose.
- If anything is turned on, then you have to turn everything off to avoid any accidents.
Well, you are halfway there in upgrading. In a way, you have already upgraded your Ender 3 to a laser engraver machine. Now, all that is left is the software settings. Let’s check that out as well. Here are the things you will need to do in terms of software-
- First of all, open up the Creality Workshop.
- Then, check if the software is in “Laser” mode. Also, you have to check if it’s in “BlackWhite” mode or not.
- Now, get the design you want to engrave on the board. It’s better to use a JPG file in this case.
- Next, from the Creality Workshop software, choose the design file.
- After selecting it, you will see a slider for the beam intensity. Adjust it according to your needs, or you can test it out in the beginning. Then click on finish.
- Then, you have to adjust the size of your design and also determine its placement. Please don’t make it too big or place it somewhere out of the board.
- Lastly, click on the “Export setting” option to check the settings of the program. Here is a standard-setting you can try out-
- Laser on command: M106
- Laser Off command: M107
- CNC Travel Z: 100 mm
- CNC Print Z: 100 mm
- Travel speed: 120 mm/s
- Laser speed: 15 mm/s
- Finally, you can save all your settings on your SD card. To do that, click on the export G-code option.
Well, that’s pretty much it for the upgrade. As you can see it’s not very difficult to do. So, once you get this setup going on, you can move on and start engraving using your 3D printer.
Engraving on your 3D printer
After the upgrade of your Ender 3, engraving is a pretty straightforward thing to follow. Here’s are the steps to engrave on your Ender 3-
- First of all, insert the SD card with all the settings into the mainboard.
- On the display of your printer, click on “Auto Home.”
- Then click on the option that says Move axis and change the Z-axis value to 100mm.
- After that, you have to disable the steppers; you will see that option on the screen.
- Now, use the binders to attach your engraving material to the print bed.
- Make sure to wear safety equipment like safety goggles.
- Then, you have to get the fan speed 255; you can click on the temperature button to do that.
- Finally, you are ready to start your engraving.
The whole process is fairly simple. If you are not getting proper engraving results, you can play around with the settings. This will surely help you get better results.
What are the possibilities with these laser engraver upgrades?
Well, it’s only natural that you know what you can do with this upgrade. What’s the potential? Right? So, here are the things that you can do after you turn the 3D printer into a laser engraver-
- Wooden items: You can get artistic wooden items. Using the laser engraving module on the wood, you can engrave various designs on wood to make your line of wooden art. You can carve out any designs you want, which you couldn’t do with a 3D printer.
- Metal Engraving: You can create metal utensils or items that come with designs and shapes. These look very attractive when they have some engravings on them. You can even start up your line of kitchen tools. Or you can start up doing engravings on metals for people. Possibilities with this are quite a lot.
- Making gift items: When you have a laser engraver, you don’t have to worry too much about gift ideas. You can carve out your message on material and pack it up as a gift. While it’s inexpensive, it’s quite special as well.
- Make decorative items: I mean, there is nothing much to discuss here. Put, instead of hanging a bland sheet of metal, you can turn that into art using your laser engraver. Now, that’s something you would love to have in your home.
In truth, the possibility of having a laser engraver depends on your creativity more than anything else. What you can do with it will dictate the endless possibilities it offers you.
Tips and tricks for upgraded laser engraver
Now, here, I bring you some tips and tricks that you can use to have smooth sailing in your laser engraving journey.
- The first thing to keep in mind is, adjusting the focus of your laser. The output quality heavily relies on the focus of your laser—the more focus on the laser, the more precision it gives in engraving. So, make sure to adjust the focus of your laser. You can rotate the knob on it to do that.
- I already talked about adjusting the Z-axis earlier, but I am emphasizing it once again because it has a huge impact on how your laser will perform. If you are engraving on heavy or thick material, make sure to bring the laser closer for more power. And if you are engraving something light, get the Z-axis to a higher number.
- Always remember not to overdo it with the laser engraver. It would help if you kept in mind that it’s essentially a 3D printer that can only handle so much. So, make sure not to put too much pressure on the laser engraving aspect of your 3D printer. Avoid going for too powerful of an operation like engraving on steel.
- Calibrating your laser beam is very important for quality engraving performance. You have to ascertain that the laser beam is perfectly centered. Otherwise, you will end up with faulty designs anyways. Also, make sure to place engraving material on the print bed properly. It’s super important for precise engraving operation.
- One thing you can’t ever ignore is the power compatibility. You will have to make sure that the laser power is compatible with your engraver. Also, if voltage issues are going on, avoid using the laser engraver at all costs. Otherwise, it may ruin your printer and the laser module at the same time.
- Flipping or inverting your JPG file is a handy tip for laser engraving. Because when the laser engraver starts working, it will invert the design and engrave it. So, when you upload the file, make sure you inverted it.
Just following these tips will help you run some tests and get you started with the laser engraving. So, try to follow them in the beginning stages and maintain them throughout your usage of the laser engraver module.
Wrap up
All in all, with some simple upgrades, you will have yourself the Ender 3 laser engraver. This is a convenient module if you want to get into some engraving work. This is a great cost-effective way to get into laser engraving. The only thing to keep in mind is that you shouldn’t do any heavy-duty laser engraving. Other than that, this upgrade works like a wonder.
Contents