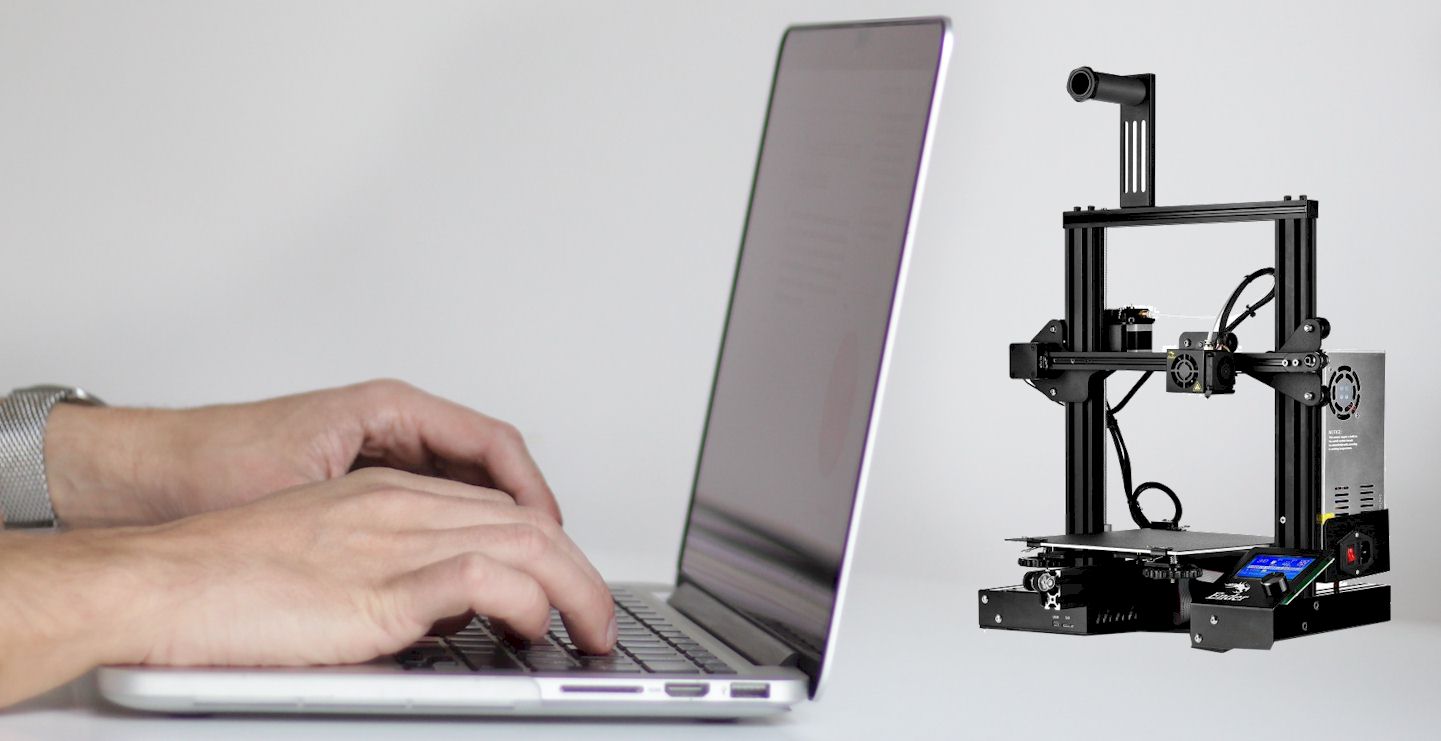
Before Printing, you must connect your 3D printer to a personal computer. It is easy to connect the PC to the printer using a USB cable. However, you might have a hard time configuring the printer. There is a chance you might fry your PC when you connect the printer wrongly.
This post will find information on items you require to start your printing business. You will also learn to connect an ender 3 to your PC.
How to connect Ender 3 to a PC
Connecting an Ender 3 to a PC is relatively straightforward. Like most other inexpensive 3D printers, Ender 3 comes with a mini USB port. Insert the cable in the USB port and insert the other side of the line to the PC. You will also need a software which the manufacturers mainly provide. However, you can find premium software at a cost.
People print the general way by copying the file in an external SD card and inserting it into the 3D printer. The technique can be tiresome since you will keep inserting the SD card every time you print.
Sending files from the PC to the 3D printer will be easier with a cable. And since you have free software, you will only need to choose an image to print and send the file to the printer.
We will give you a step-by-step process to connect your 3D printer to a PC and start printing.
Step by step connection of an Ender 3 to a PC
If you have just bought an Ender 3 3D printer, you will have to find a way to send files to the printer. You might use the primary method of transferring files through an SD card. However, as your experience with 3D printers progresses, you will easily choose which way you will use.
Using a cable to connect the Ender 3 to the PC is the most convenient. Here is a video showing how you the PC to the 3D printer.
Using a cable to connect an Ender 3 to a PC is straightforward. 3D printers are not meant to be fixed on a desk like cookers. You cannot attach the PC to a 3D printer permanently. Below are some of the things you should have to complete the connection.
- Ender 3 hardware
- Micro USB cable
- PC
- Software
Step 1. Find a Micro USB cable
The first step is finding a USB cable compatible with Ender 3. A micro USB has sides A and B. side A of the USB cable is inserted in the 3D printer. On the other hand, side B is inserted into the USB port in the computer.
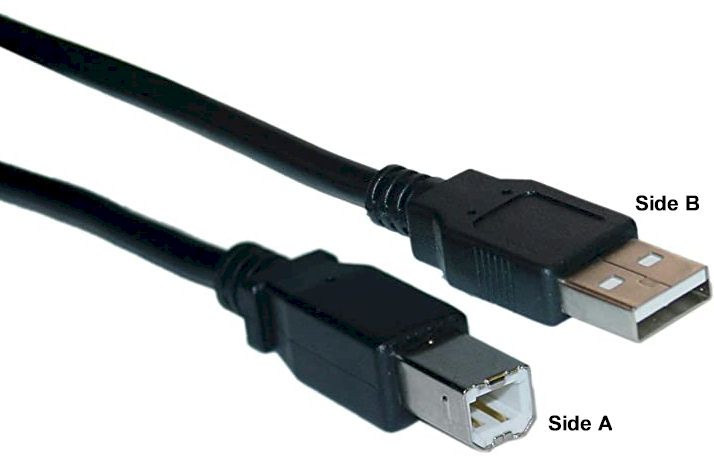
Analog printers used mini USB cables but were shortly replaced by micro USB cables. Mini USB cables are slightly larger than Micro. If you are not using an Ender 3, you can still find the mini cords from Amazon or an electronic shop closer to you.
- 3d printers are moved frequently depending on each project. Therefore, it would help if you boughta USB cable that is long enough. For instance, if you place the printer a distance away from your desk with the computer on, consider finding a longer USB cable.
- If you are using a personal laptop, you can use a shorter USB cable and mo0ve the computer with you when changing positions when printing.
You should be aware of some of the hazards of connecting a 3D printer directly to the laptop. A 3d printer emits heat during Printing; this could fry your computer due to overheating.
Step 2. Connect the PC to the Ender 3
Since you already know where to insert the cable into the computer, connecting is straightforward. When you connect, you will get a notification indicating a 3D printer has been detected on your computer. A connection noise will also be produced.
Most recent windows updates like windows ten automatically install the drivers that allow the 3D interpretation of the file from digital to analog form.
If your computer does not automatically indicate the installation of the drivers, use this guide to install the drivers manually.
Step 3. Install software
3D printers cannot operate without the software. Most software is free and comes incorporated with your 3D printer. Luckily Ender 3 manufacturers include the free software. Although depending on the type of project you will do, you always find premium software like Repetier Host. You can enjoy a free version and later upgrade to the paid version.
The role of software in Printing include;
- Software moves, duplicates, scales, mirrors, or adds a 3D model to the build platform.
- Creates a G-code file that contains what your Ender 3 printer should do.
- The software controls your 3D printer.
- It can also cut your designs into slices.
The most common slicer used with an Ender 3 is Cura, which is free.
Step 4. Add your Ender 3 to the software
After installing the software, you will need to add the printer. This will enable sending your 3D design to the 3D printer for Printing. If you are using Cura, a dropbox is at the top of the software. Select “Add a printer,” and the name of the 3D printer will appear.
When using some software, you can configure multiple printers. You will need to choose suitable 3D printers when printing.
Step 5. Start Printing
Now that the computer is connected to the Ender 3, you can easily print.
- Go to the software where you have added your 3D printer.
- Choose the print file you want to be sent to the 3D printer for Printing.
- At the bottom of the software, choose the print option.
The file you have selected will be sent to the 3D Printer, where it will be interpreted as an analog file, and printing will start. Until the file has been fully loaded to the printer, it is advisable not to disconnect the computer.
Below are some of the things that can interfere with your Printing.
Related: Ender 3 dual extruder upgrade
Major Threats When Printing
Issues are prone to emerge. We will give you solutions to some of the most common problems you can experience when Printing.
Power loss
Power outrages can stop your Printing immediately. You might be working on a deadline,which will be an inconvenience. Also, the print that will be printed before the power goes off will not be used again. This results in a waste of the filament.
To avoid this, invest in a powerful backup battery for your computer and the 3D printer.
Overheating
3D printers release a lot of heat during Printing. This might lead to the 3D printer jamming. Also, when the laptop stays on for long when connected to an output device, the fan might overheat.
Ensure that you are using a powerful 3D printer for large projects. You should also make sure the room has enough airflow, and the laptop should be placed on top of surfaces like wood. Wood does not conduct heat, so most heat is lost.
The Laptop crashing
When printing using a 3D printer, ensure that all background programs are disabled. Some of these programs overheat the computer and use large ram to run. Such programs include gaming and media players.
Messaging apps and plugged-in devices can slow down the computer. Do not plug in any other devices like a phone. When Printing, the only work the computer should do is printing.
Make sure the computer is always on
Some computers switch off when they go to sleep mode for long. When a computer switches off, when printing, the printing stops.
Make sure you keep the computer on always until you are done Printing.
Frequently Asked Questions (FAQs)
- Does the Ender 3 come with an SD card?
You can find Ender 3 printers with an 8GB SD card. If your printer does not come with an SD card, you can easily buy it from any electronic shop. - What is a micro USB cable?
A micro USB is a cord connected from a printer to an input device like a laptop. The cable sends files to the 3D printer. - How do I upload files to Ender 3?
You can either use a removable SD card to transfer the print design from the computer to the 3D printer. Alternatively, you can use a micro USB cable to connect the printer directly to the computer. Select the file using the software and start printing. - Does Ender 3 have Wi-Fi?
Most Ender 3D printers allow WIFI connection. Go to the 3D printer screen, click on the Wi-Fi you want to connect to, then go to the computer and do the same.
Conclusion
Using a micro USB cable to connect the 3D printer to the computer is the most convenient transferring printing files. You will not need to keep connecting and disconnecting the laptop for every file you want to print.
However, you should choose a software that is compatible with your 3D printer for Printing to be possible.
Contents