Well, we all know the purpose of laser cutting is to get clean cuts with less hassle. It has a lot to do with how your wood will look after cutting. Now, the problem arises when you end up with wooden pieces that are cut perfectly but have burnt marks. It eradicates beauty.
So, when using a laser cutter on wood, you would want to have cleaner cuts without any burning. Don’t know how to do that? Well, I am here to show you some ways for preventing burning when laser cutting.
Without wasting any more time, let’s get right into it.
The Causes of Burning When Laser Cutting
Whenever you are using your laser cutter to cut wood, it may leave some charred marks on the edges of the cut. But how does that form? And is it burn marks?
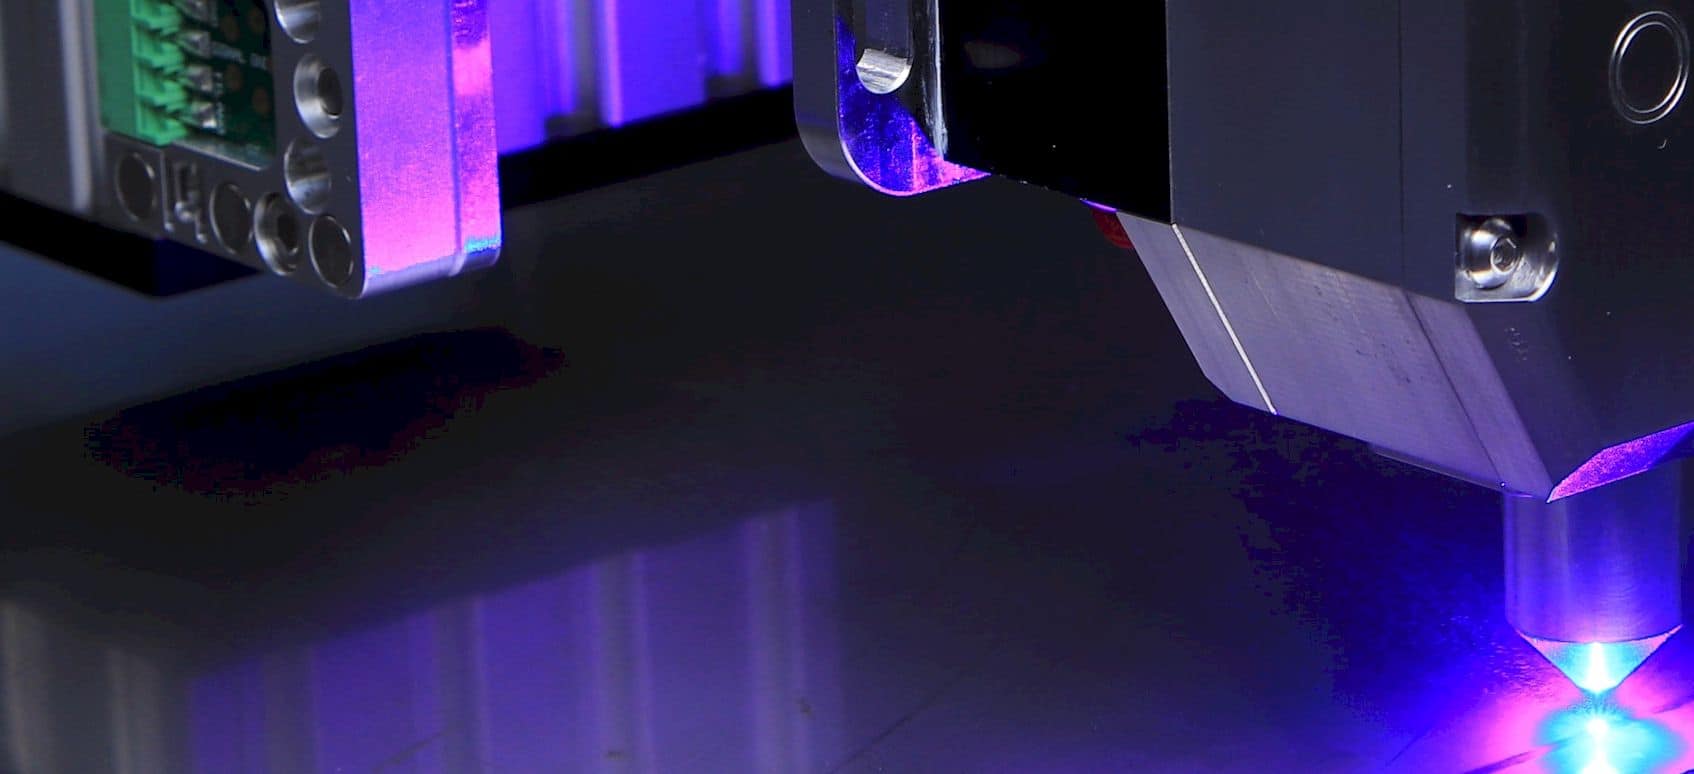
In reality, the laser beam from your laser cutter doesn’t even touch wood. So, there is no way that it will burn the surface of the wood. The black marks you may see after using your laser cutter on the wood are soot. Soot is a carbon compound that forms whenever you burn something organic.
Now, this means that the laser isn’t damaging your wood internally by burning it. It just forms some soot on your wood. You can get rid of this problem with some precautionary steps very easily.
Let’s check out some cool ways to prevent burn marks in laser cutting.
Related: perfect low-cost laser cutters
Tips for Preventing Burning When Laser Cutting
I am sharing some of the most common and easiest ways to prevent burning from laser cutting. You can find some more too, but these are the simplest to work with.
1. Using application tape
Application tape or paper transfer tape is a great way to prevent the wood from burning after laser cutting. All you have to do is attach the tape to the surface you will be cutting. This will stop the fumes from any soot disposition on the wood. So, you end up with clear cuts on your wood.
However, you will still have to remove the tape from the wood after you are done with it. Now, this can be a hassle and very much time-consuming in some cases. Also, if you are using this method, you should have a higher wattage of the machine. Otherwise, the cutting or engraving process will be much slower.
2. Using a coating
This method uses the same mechanics as the previous one. Instead of using the tape, you will be putting a coating on top. The coating prevents any soot from dispositioning on your wood. You may have some marks or burnt residue on your wood, but you can remove them easily.
Because of the smooth coating on top, it’s much easier to remove any marks from the wood. However, applying a coating can be a bit expensive and require more effort. So, it’s up to you whether you want to use the tape method or this one as both are pretty similar.
3. Changing the settings
Sometimes the issue can be solved by trying out new settings on your laser cutter because your laser cutter might be too powerful for the kind of wood you are using. This eventually causes the burning of the wood. And it’s not just the power; you can work around the speed as well.
One thing I would like to say here, it’s not something that will always work. This might work only in cases where the laser is too overpowering for the wood. Other than that, you can’t rely on this method. But you can surely give it a try if you want.
4. Soak wood in water
Keep in mind that this method only works with thin wood. You can simply put the wood piece into water and keep it there for a while before you start cutting it. This will prevent any burning of the wood. Also, it doesn’t allow soot to form. So, you can get rid of the issue without having to spend or do too much.
5. Sanding the burnt residue
Now, this is a solution that many people will be skeptical about. And I understand why. You don’t want to sand a cut piece of wood that you will probably use for a project. But sometimes, you are left with no choice.
Sanding the wooden piece will remove all the burning signs from the wood completely. Remember, soot is just a layer on the wood; it doesn’t damage the inside. So, you will end up with clean wood after you are done sanding. Medium grit sand is enough for this job.
6. Using air assistance to blow fumes
This is a method that may or may not work for every scenario. That’s mostly because you may not be able to get the proper air pressure on your workpiece. And getting the best potential of air assist can cost a lot too.
But if you truly need to get rid of burnt marks on your woodcuts, then you can try this. All you do is use the air assist right where you are cutting the wood with a laser. This will blow away all fumes that come from the cutting process and prevent any burning whatsoever.
So, these were the top tips to try out for not having burnt marks on wood cutting using a laser cutter. You can try them out individually, or you can combine the methods. Also, not everything will work for you. So, I suggest trying all of them out one by one, whichever one suits you.
Conclusion
In short, preventing burning when laser cutting isn’t that difficult when you know the reason. And the reason is easily preventable, as you saw above. All you have to do is make sure that soot doesn’t form on the wood piece. This is the most basic thing to be aware of when cutting wood using a laser cutter.
Contents
