Are you not happy with the stock mainboard of the Ender 3 printer? I mean, there is nothing necessarily wrong with it. It lacks some advanced features that you can get from a simple mainboard upgrade. Sounds intriguing, right?
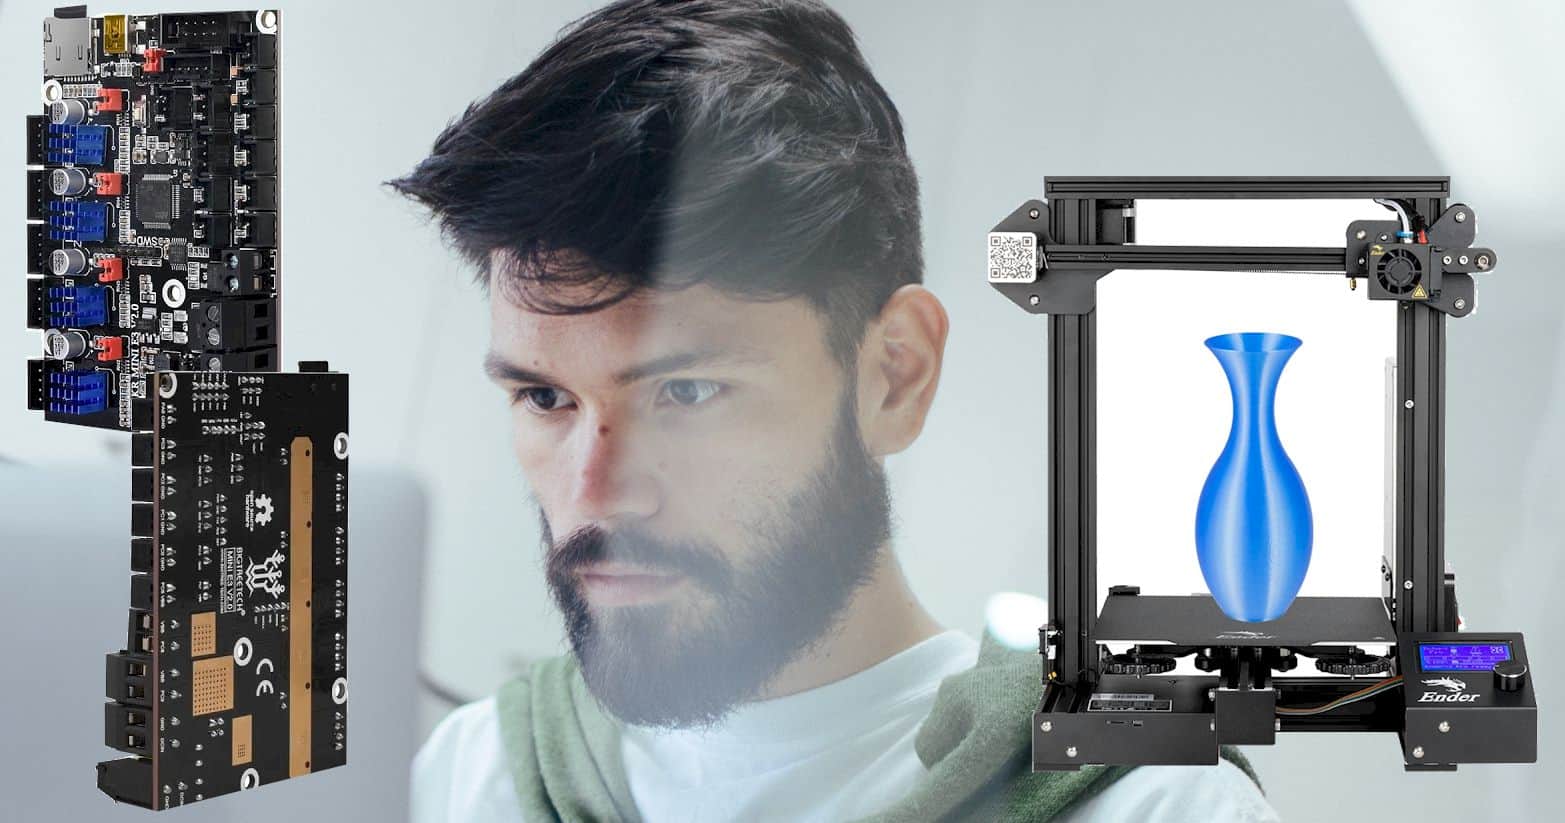
Here, I have the complete setup guide for SKR Mini E3 V2 which is an excellent choice for your next mainboard upgrade on Ender 3. It comes with some fantastic features that elevate the performance of your printer.
Whether you were planning to upgrade the mainboard or are just interested now, it doesn’t matter. You can go through this whole thing and get the idea of setting up the mainboard for your printer to get better performance.
So, let’s get started with it.
Why install the SKR Mini E3 V2
I can sum things up and say, installing this can be a game-changer for any Ender 3 printer out there. However, I guess that doesn’t help you a lot. Something that will help you understand the value of this upgrade. So, let’s check out the benefits you get from the SKR Mini E3 V2 –
- This one comes with silent drivers, so you end up reducing noises from your printer.
- The upgrade adds plug-and-play features, BLtouch, and a touch screen display.
- You get power loss recovery from your Ender 3, which isn’t a part of the stock mainboard.
- Lastly, it has simple wiring that doesn’t involve any complicated parts.
Other than that, you get excellent improvement in the performance of your printer as well. So, there is nothing truly bad about going for this upgrade except you have to buy the part and install it.
Now, let’s just get on to the setup guide, the real stuff.
How to install SKR Mini E3 V2
There are four basic steps to this installation. You have to remove the current mainboard, install the new one, do some wiring and finish off with updating the firmware. Don’t worry now because I won’t leave you hanging with these basic steps. I will get in-depth just in a bit.
Before starting up with the steps, let’s check out the things you will need for this setup.
Things required for the installation
- The SKR Mini E3 V2
- An 8GB or less micro-SD card
- A card reader
- PC or Laptop
- An Allen wrench set
- And a flathead screwdriver
Once you have everything prepared, you can begin with the installation. Follow the steps that I am going to discuss below.
Related: Creality CR-6 SE vs. Ender 3 v2, The Upgraded Creality 3D Printers Comparison Guide
Steps for installation
Now, let’s check out the steps that you have to follow in detail and see how you should be doing the whole thing.
Step 1: Removing the existing board
You have to go through the physical installation and remove the existing board in this first step. Here’s how you do it.
- First, you have to make sure that your printer is not plugged in. If it is, unplug the printer first.
- Then, you have to get access to the mainboard, which you can only do after removing the housing around the board. Typically, there will be some screws that you need to remove to take off the housing. After that, you will also need to remove the fans to have complete access to the board.
- When you get access to the board, you can easily remove it. Just disconnect all the adapters, especially the ones on the top. You can leave out the ones that are attached to the terminals.
- While disconnecting the adapters, you have to be aware of some things. The first is to take a picture to have a reference later on. Then, you have to be careful with the hot glue on some adapters; you have to remove them first and then remove the adapters.
- After removing the adapters, you can unscrew the board from the housing. Then, you can take off the rest of the wiring from the terminals. Try keeping a note or a picture of all the wiring, so it becomes easier when you have to install the new board.
Step 2: Installing the new board
Here’s the main part of this installation where you insert the new mainboard. You just do the following thing –
- You have to start by putting on the heatsinks in your board. You put them on the TMC2209 drivers. All you have to do there is to remove what you have on the heatsink and stick the heatsink on the driver.
- Then, you have to connect the terminal wires on the board. You can either refer back to the notes or pictures. Or you can find the wiring diagram on the internet, such as in Bigtreetech.
- After wiring the terminals correctly, you can move on to mounting the board. It’s just the opposite of removing the old board. Align the board with the brackets and screw them in. However, make sure you are not tightening them too much.
- Then, you have to connect the rest of the wires and adapters. So, it’s pretty similar to the way you removed the old board but did the opposite. You can find wiring for that on the same source.
- When you are done connecting all the wires, you can put the fan back on and put the housing cover back.
For the SKR Mini E3 V2 setup, that’s pretty much it. All it is left is to update the firmware. You can do that pretty quickly. Just download the firmware from Bigtreetech GitHub, load it up on your SD card from your computer using a card reader. Then, insert the SD card on your printer and finish the process.
Related: CoreXY vs HBot, The 3D printer systems comparison guide
Wrap up
All in all, setting up the SKR Mini E3 V2 isn’t that difficult. You can do it yourself without any worries. The whole thing is pretty straightforward once you can figure out all the wiring. Since you get all the wiring diagrams with the files and packages, there is nothing much to worry about.
Contents