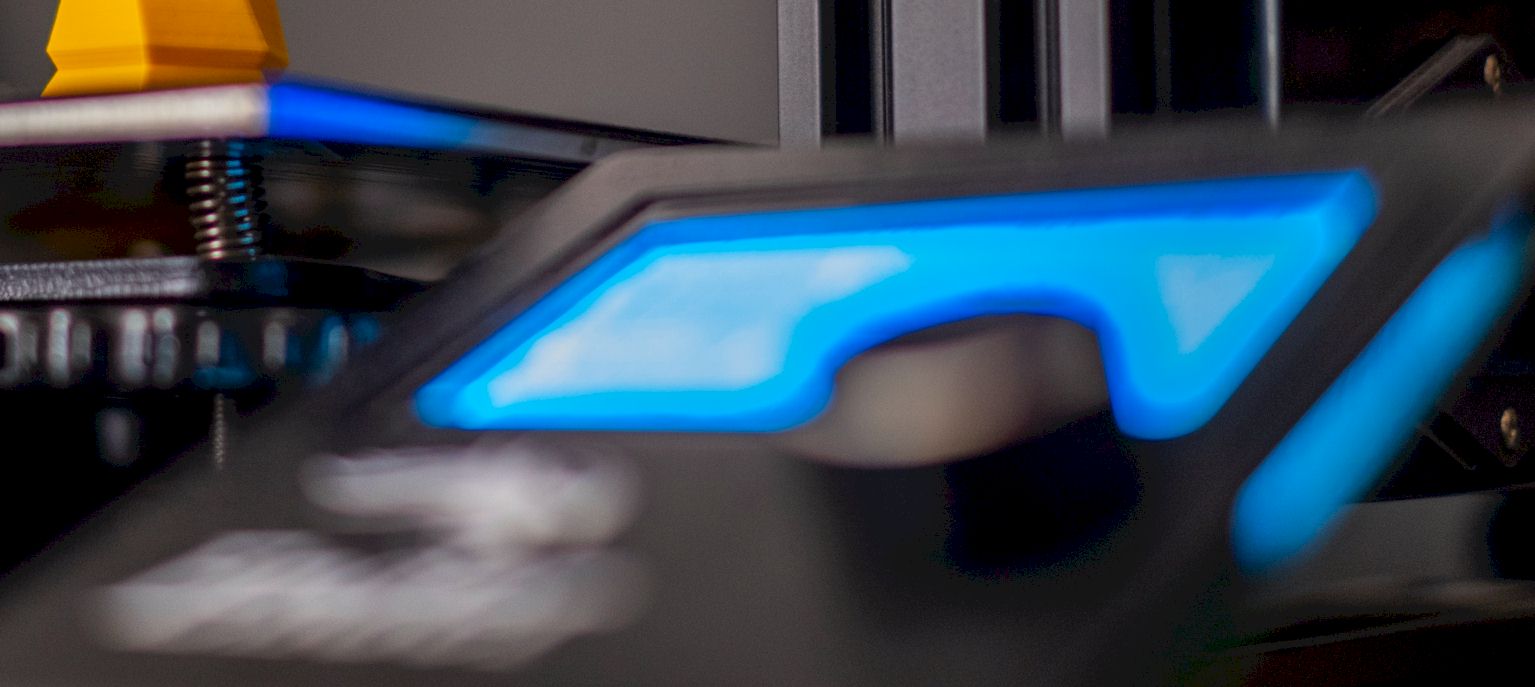
As you get into 3D printing, you see so many different things. With all the 3D models and creative stuff, you also come across some imperfections in the 3D printed models. Among the different ones, 3D printer ripples are a pretty common issue many people face.
You will usually encounter this issue in the first layer of your 3D prints. These issues can happen for various reasons. Whether you are already facing them, or just getting into 3D printing, knowing about the problem can help you out.
So, here, I have everything you should know about the issue, including the solutions. Let’s get going then.
What causes ripples in your 3D models?
First, let’s check out why you may have ripples in your 3D models. Several reasons cause this issue, and knowing about the particular one in your case helps you solve it. Here are the causes for ripples in the 3D printing process –
Problems with the printer bed
The most obvious issue that can cause rippling problems on your 3D prints comes from the print bed in the first place. Any imperfection in the print bed can lead to a faulty printing experience, specifically having ripples on the first layer of the print.
The first layer of the print will always come down to the print bed directly. So, if the print bed isn’t perfect, the coating will also have issues. Things like a warped or dirty print bed can cause the problem.
Flow rate and a layer height of the first layer
The flow rate you use for your printing process can impact the print models. There will be over extrusion when the flow rate is too much, causing ripples.
Similarly, when the layer height is too low, it can cause the same issue and make your 3D print models have ripples. A lower layer height can result in problems with the layer adhesion.
The proximity of the nozzle to the build plate
How close your printer’s nozzle is to the build plate can severely impact the print quality. If the distance isn’t proper, you will see ripples in the prints. For instance, when the nozzle is too far from the build plate, it can result in the filaments not sticking to the build plate properly.
On the other hand, if the nozzle is too close to the build plate, the material can smear all over the bed and result in ripples in print. Either way, you would want the perfect distance between the printer nozzle and the build plate.
Printer speed
Printing speed has a lot to play in the quality of the prints you desire to get. When the speed is too high, the print layers don’t get enough time for proper adhesion. Because of that, the print quality deteriorates too much. Also, too slow of a speed can impact the printing results to cause ripples on the printed models through too much filament use.
So, you will need to figure out a way to find a proper printer speed, so it doesn’t cause any print quality problems.
Cooling mechanism
The cooling you use for your printing purposes can also lead to your prints getting ripples. You have to ensure the 3D models are cooling off at the correct timing. Too soon means incomplete print quality. There will be several issues in print, including ripples.
And if you are too late in the cooling process, this will undoubtedly result in pretty bad prints. So, you would want to cool off the prints at the right moment with the correct method.
Now, there are several different causes for the problem to occur in your 3D printing projects. Figuring out which one is affecting your case is very important. Because that will lead you towards getting the proper solution to the problem, let’s get through these solutions very quickly then.
Ways to solve ripples in 3D printing
Solving the problem becomes much easier when you figure out the cause. So, let’s get ahead and check out the solutions for each reason one by one.
Fixing the printer bed
Well, it’s not fixed. It’s more like avoiding the problem from happening in the first place. You will need to adjust the bed properly and make sure it’s clean. Also, if you are using a flexible bed, you have to take care of the warping issues.
The best solution is to get a glass bed. This bed helps in avoiding the problem completely. So, you won’t have to worry too much about it.
Using the proper settings
Now, this is the solution that goes for all the other causes I described above. You must get through the following settings to ensure the print comes out perfectly. You can do these in the slicer software.
1. First layer height and flow rate
You have to change the first layer height to 90% initially. From there on, you can try different values and adjust them. Also, make sure to get a flow rate that isn’t too high or too low.
2. Nozzle distance
The nozzle distance should be something like this, where an A4 paper can pass through with a bit of drag to it. Usually, a 0.1mm nozzle height works quite well with a 0.4mm diameter.
3. Printing speed
Of course, you will need to think about the printing speed. The best practice is to use a 50% speed on the initial layer of the printer. You can try adjusting the value according to your liking from there.
4. Cooling
You might have messed up the cooling mechanism if you have already done some tinkering. I recommend doing a factory reset here and starting from scratch to get that fixed. You can try the values filament manufacturers suggest in their packaging.
This pretty much gives you the idea of how you can get around ripples on your 3D printer and the models.
Conclusion
Wrapping things up, I would say 3D printer ripples aren’t that big of a deal when you are aware of it. Knowing what causes this problem can easily help you get rid of it. You can even prevent this from happening in the first place. So, everything works out quite well with proper knowledge about this issue.
Contents