If your printer does not support auto bed leveling, it can be difficult to always level the bed in an accurate position. But most of the auto bed level supported 3D printers are not affordable these days.
In this situation, you can install a BLTouch sensor on your Ender 3 printer to get the auto bed leveling benefit. But don’t you know about the whole installation process?
Here, I’d like to help you install SKR Mini E3 V2 BLTouch step by step. So, try not to miss a single step for which you can learn the whole process without much effort. So let’s get straight into it!
Hardware You Will Need for SKR Mini E3 V2 Bl-touch Installation:
- Computer
- BLTouch
- Micro SD Card *8GB or smaller
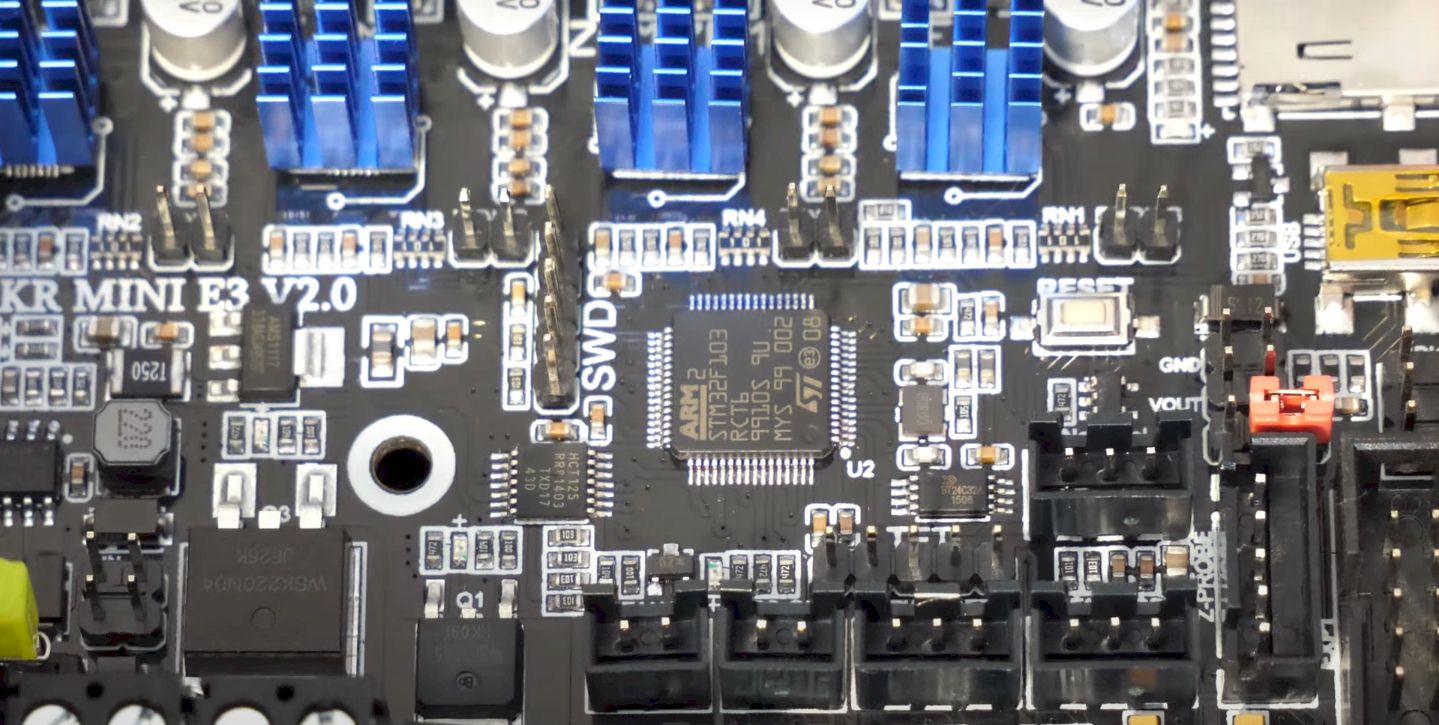
- SKR Mini e3 V2
- SD Card Reader
How to Install BL-Touch on Skr Mini E3 V2
Here is the step by step process for you to install BL Touch on SKR Mini E3 V2:
1. Physical Installation of BLTouch:
Step1: Run Wires –
- You need to run the wire before you try to mount anything.
- Then you’ll need to run the wires next to the cables for your extruder and leave slack in the inner diameter of the extruder to plug the adapter into the BLTouch.
- Then you would not take any zip ties to stay there loosely.
Tip: Make sure your adapter to the BLTouch is by the extruder; having one interconnection adapter is sufficient.
Step2: Connect Wires to BLTouch –
- Before attaching, make sure you see the BLTouch wiring diagram.
- After drawing the wire to the appropriate sockets, you can attach the adapter to the BLTouch.
- Attach the blue wire left to the main port and the white wire right to the main port.
Tip: The purple Wire colors may be different if you get a BLTouch model or unofficial copy.
Step3: Make a Connection Between Wires and Mainboard –
Then, connect the mainboard to the power outlet via the wire. You have two options for connecting the plug.
Process one:
If you want a BLTouch setup scanner, you must connect all the wires to it. Doing this adds a safeguard if the BLTouch has issues and wire connections make it different.
Here I’ve described briefly about connecting each wire.
- Blue: When it is about the blue wire, you should connect it to the GND board pin.
- Black: It needs to connect to the GND board pin on the G board level.
- Yellow: You add this wire to the PA1 board and IN the board level.
- Red: It needs to connect+5V for the V board level.
- White: You need to connect PC14 to the OUT of the board level.
Process two:
Another common way to connect the BLTouch is to connect the probe stop to the z-stopping port and not the BTS PCB port.
For BL Touch Port:
- Red: It can easily connect to V level with a +5V board pin.
- Blue: You can connect it to G Board Level with a GND board pin.
- Yellow: It can connect IN with the PA1 board pin.
For Z-Stop Port:
- White: The wire should connect OUT with the PC14 board pin.
- Black: You can connect the G board level with the GND pin.
Step4: Clean up the Cabling
- By arranging everything properly, you can evacuate any previously obstructed wires cabling.
- You need to loosen the loosened zip ties with the greatest pressure possible for five or six inches.
- Then, you intend to target one zip tie for every 6-8 inches you want to make.
- Your primary goal is to be certain that the cable will not catch or pollute the printer during the operation.
Step5: Mount BLTouch to Bracket
- Attach the BLTouch cable to the bracket with the kit
- Or you can use the custom fan duct cover you like to print.
- Make sure that the wires are inside the bracket, and the bolts that come with it must be utilized to mount everything in place.
Step6: Mount Bracket to Carriage (X-Axis) –
- To attach the bracket, you lifted from an aluminum profile of the duct to the x-axis carriage.
- You have to remove the screws from the fan duct cover sides.
- Pull the BLTouch bracket.
- Then put the screws back in, which will go outside of the cover’s fan duct.
- Sometimes it can be somewhat hard to get all of the screws back in.
- It is better to push one all the way in so that you can schedule a time for the screw to become aligned with the thread of the carriage.
Related: ender 3 pro bl-touch install
2. Set Your Z-Offset
Step1: Heat Nozzle and Build Plate to Normal Temperature
By following these steps, you can do it.
Menu> Temperature> Nozzle>Set to 190>Select Bed>Set to 60
After that, you should wait to get your desired temperatures.
Step2: Run the Z-Offset to Get Your Initial Z-Offset
Just follow this pattern:
Menu> Configuration > Advanced Settings > Probe Offsets > Z Prob Wizard
Then Move 0.1mm> Adjust the z-axis by 0.1mm>Closeout of that Move 0.1mm window>Done
Step3: Test Print and Make Adjustments
Once you have set your z-axis value, you should try to test print and make your adjustment.
3. Update the Firmware
Download the Firmware Package
- When it comes to the SKR Mini E3 firmware, you have two options.
- The first one would be to use the precompiled format from BTT.
- If you want to add a BLTouch, use the commonplace mounting bracket and fan duct cover.
- Another option would be to create your own firmware.
- You need this option when you use additional mods and need special firmware changes.
Process-1:
You’ll have to download the correct firmware to go to the ‘Firmware Package to SD Card Move’ step if you set up the precompiled firmware on the first page.
When you fix the first using the BLTouch wiring process, you will visit the BIGTREETECH GitHub page to download firmware-bltouch.bin. If you choose the 2nd process, try firmware-BLTouch-for-z-homing.bin.
Process-2:
Next, you will need to download the firmware you plan to use. You have two options to choose from here. The first would be to use the most recent Marlin bug-fix release.
Then the second option would be to use the SKR Mini E3 firmware update on the BIGTREETECH GitHub page. The second option offers more features with more stability. So I chose it. The build process is the same for both options.
Related: bltouch blinking red during print
Phase-1: Marline Bug Fix Repo
- Download the Firmware
Feel free to visit the site of“Marlin download,” and make sure to download both Marlin-2.0.0.zip.
- Configuration Example Download
On the GitHub page below your downloaded firmware, click on the download button next to Example Configuration. Then choose your download zip and click the icon whose color is green.
- Unzipping The Files
Since you’re allowed to download both files, let’s unzip them right away. It may be necessary to unzip them at the location where they are. But if you need to move them closer to the root of your disk drive, you should unzip them at the desktop or in another location.
You need to place it closer to the root of your disk drive. Because the uncompressed firmware doesn’t adversely affect the size or path of your drive to avert any kind of complication.
- Copy Files Into“Marlin Firmware”
Under the Marlin directory, copy the factory example files from Configurations-Bt-2.0.x to the Marlin subfolder. Once you are in this folder, you can search for the example file for your usable printer.
Phase-2: BIGTREETECH Repo
- Download the Firmware
You need to visit the main BIGTREETECH-SKR-mini-E3 Firmware Repo, click the code, then click the download zip.
- Unzip the Files
After unzipping it, go to the firmware and the board version folder.
- Copy the Firmware to Your Working Directory
Before you check out the firmware directory for your board, you will need to copy the Marlin folder to your desktop. Or you can check another directory close to the root of your drive and rename the file to Marlin.
4. Update Your 3D Printer Profile
In the final stage, you need to add the G29 code to start the G-code in your machine. If you do this, your printer will run the grid, and the BL Touch will start before each printing.
Go to preferences>Configure Cura> Printers>printer model>Settings
G29, BLTouch at the base of G28; the complete collection of axes when you add to the start-G-code box. After that, you can click on the computer configuration window and close a transition. Then you’ll be able to make a routine with Cura.
Wrap Up!
BL-Touch is a great sensor to improve the quality of your prints and ensure that each layer is consistent. It is a simple process to install, and you can complete it within a few minutes or so.
If the installation process of the SKR mini e3 v2 Bltouch is not clear, chances are you might miss any of the steps. Just scroll up, and read all the instructions carefully to do it yourself!
Contents
