In the world of 3D printing, Creality Ender 3 is a renowned 3D printer. It’s one of the best options to go for when it comes to entry-level 3D printers. One of the reasons it’s so great is the upgradability you get on this.
Among many upgrades, the Ender 3 fan upgrade is something you should check out for sure. It’s almost like a necessity at some point for the Ender 3. Now, if you aren’t sure about the fan upgrade, then I am here to help.
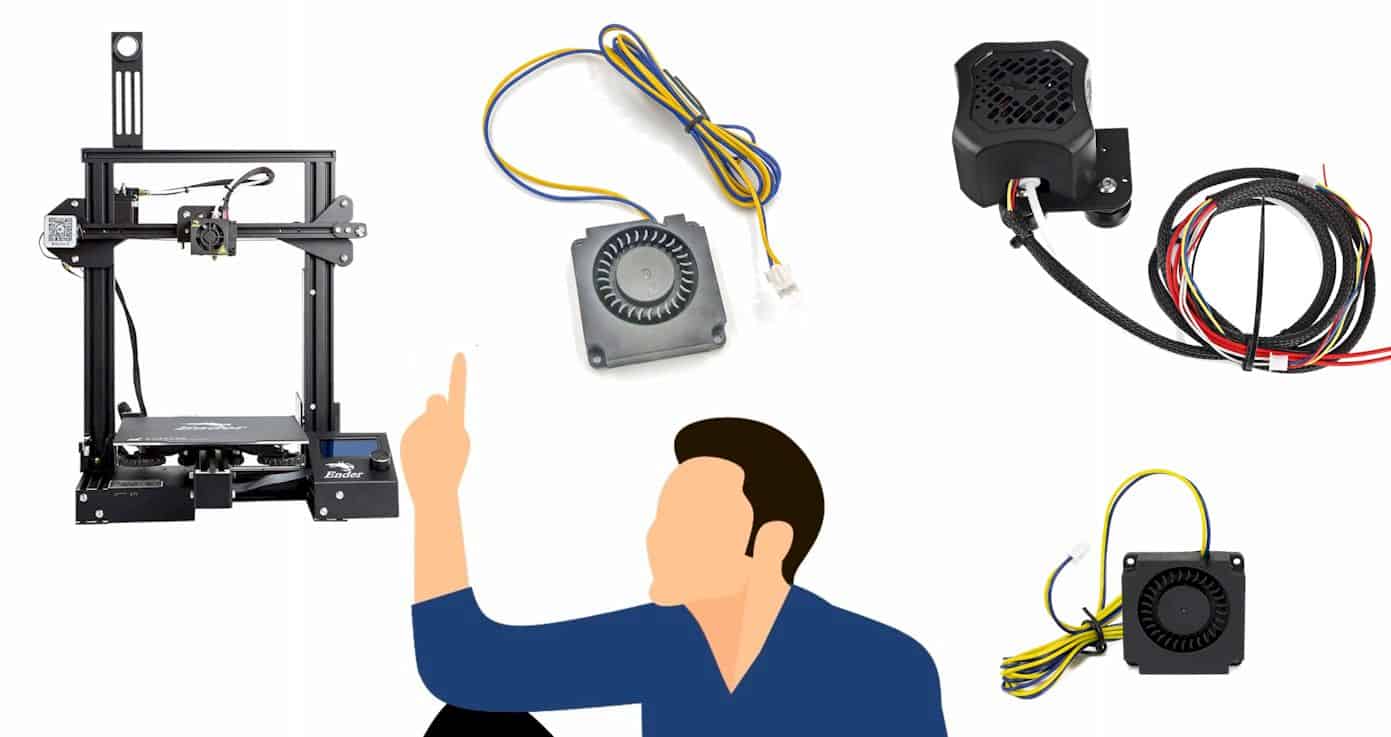
I will take you through a complete guide on upgrading the Ender 3 fan. This will surely give you a boost in the performance that you will love to have. So, without wasting any time, let’s get going with the whole guide.
Reasons for upgrading Ender 3 Fan
Before I go through the process of installation, you should know why do it. I mean, there is no point in upgrading the fan if you can’t get any additional benefits. So, let’s check out the advantages and disadvantages of upgrading the fan.
Advantages of upgrade
These are some general advantages you can get from most of the fan upgrades. Depending on what fan you are upgrading to, you may also get some additional benefits.
- With a newer fan, you will get better bridging facilities from your 3D printer.
- A fan upgrade also gives you better overhangs.
- One of the crucial advantages you get from a fan upgrade is noise reduction.
Disadvantages of upgrades
Once again, these are some general disadvantages you get from upgrading your fan. Sometimes there are disadvantages related to the particular fan you are choosing.
- You have to spend money on the fan, which means more experience
- It takes reasonable time and effort to complete the installation of an upgraded fan
As you can see, these aren’t that big of a deal when it comes to disadvantages. You have to spend extra money to get better performance out of your printer.
Still, it’s a cheaper way to improve the performance of your 3D printer and take it to the next level. Most people go for fan upgrades solely because of the noise reduction facility.
Related: CURA jerk settings
How to install a new fan on Creality Ender 3
Now, let’s get to the real deal and see how you can install new fans on your Ender 3 printer. I will take you through a step-by-step guide. As long as you are following the guide, you should be good to go.
First, let’s take a look at all the things you will need for the upgrade. Typically, there are four fans you can find on an Ender 3 printer. They are the fans on the mainboard, which aren’t that loud at all.
Then there are other fans on the PSU or power supply of the printer and the hot end of the printer. These fans are loud, and you should replace them for the better without any questions. Other than that, you have part cooling fans as well.
So, let’s go through the things you need to replace fans on your 3D printer.
Items and tools required for the upgrade
There is three primary hardware that you need for this upgrade. One is, of course, the Ender 3 printer. Secondly, you have to get the fans that you want to replace. There are a lot of choices you can find out there, which one is the best depends on the different features they offer.
Some popular brands you can check out are, Noiseblocker, Orion, Cooltek, and Noctua. These brands can provide you with good-quality fans without breaking the bank. Once you get all the fans, you have to gather the required tools.
Here are the tools that you may need to get the job done.
- A soldering iron,
- Heat shrink tube,
- Solder wire,
- Mini heat gun.
- A screwdriver
After getting these tools, you may also need some printable items such as fan housing or fan covers. However, it’s not compulsory, and the fans you buy may even come with all these. So, you don’t need to worry about them too much.
Once you have got everything set up, you can move on to the installation process. Let’s get started then.
Related: Best 3d printer for flexible filament
Replacing the hotend fan of the printer
Here, I am starting with the hotend fan; you can do it later; it’s up to you. Just follow the below steps for replacing the hotend fan.
- First of all, you have to take off the front cover of the printer. To do that, simply unscrew the red-marked screws you see in the front cover.
- Then, you have to unscrew the fan and cut the cables of the fan. You can try folding the cover first to get access to the fan and unscrew it.
- The best way to cut the cables is by opening the fabric hose. This way, you get to push back the wiring harness and open it to cut the cables. The purpose of doing this is to cut the cables a bit far away from the fan, so it stays usable even after this.
- After this, you can simply remove the fan from the hotend. And then, start installing the new fan.
- To do this, you have to cut the black and red cables on the fan first. Make sure that you are removing the yellow cable because you won’t be needing that anyways. Then, after soldering the cables, use heat shrink tubing to enclose them. Or you can also use clamps to connect them.
- Finally, install the new fan the same way the older one was installed. Screw it in, and then screw in the cover as well. Also, make sure you have pulled back the fabric hose over the cables to secure them properly.
And it’s that simple. It doesn’t take a lot of effort to do replace the hotend fan. However, you have to be a bit careful while you are doing this because it’s pretty easy to mess this up.
Replacing the power supply fan on Ender 3
Now, let’s check out how you can replace the power supply fan of your Ender 3 printer. Usually, the hotend and the power supply fans are the ones that make loud noises the most.
Unlike the hotend fan, you have to be a bit extra careful with the power supply fan. It tends to have more electric power that can prove to be lethal for you. So, you need to make sure that you have disconnected all the plugs and turned off your printer completely.
There are also some other considerations, like what kind of power supply you have. You can even switch the power supply if you want. I won’t be going through that here today since this is all about replacing fans.
You need to go through the following steps to replace your power supply fan on the Ender 3 printer. Let’s get on with the steps very quickly.
- The first thing to do is, disconnect all the plugs from the power supply. Then, use a screwdriver to unscrew the power supply.
- To work with the power supply more efficiently, you should disconnect all the connections from the mainboard. Simply unplug the XT connector from the back, so the power supply loosens up a bit more.
- Now, this is the step where you have to be pretty sure of what you are doing. There are a total of six screws that you have to loosen to remove the metal cover lid. One of the screws is under the warranty sticker, which voids the warranty once you tear it.
- After removing all the screws and taking off the lid, you can see inside the power supply. There you will find the 2-pin fan that you have to remove.
There are some extra things you can do to make the whole thing even safer. The first is to consider the voltage specifications of the fan. Try going for fans that go up to 14v and not more than that.
Also, you can install a DC-to-DC converter that can help in reducing the voltage. They don’t cost too much, and it makes the whole thing much safer. Make sure you are getting an adjustable converter rather than a regular one.
Now, aside from these two types of fans, you can also replace the fans from the mainboard and the part cooling fans. While they are unnecessary, they can add in some features or advantages that might work out for some of your particular needs.
So, I will also go through a little about replacing the other two fans that you have on your Ender 3 printer. Let’s get going.
Replacing the mainboard fan
Replacing the cooling fan on the mainboard is pretty simple and doesn’t involve any complicated steps whatsoever. Here’s what you do –
- First, you have to remove the two screws in the front of the board. Then move the bed to the front so you can take out the screws from the back.
- After that, you have to get the bed in the back. Then, try to lift the cover of the board. Then you should see a way to unplug the fan. Unplug it and unscrew it.
- Once you remove it, you are all ready to install the new fan. To install it, you simply reverse the procedure. Get your new fan inside and screw it in.
- Next up, you have to make sure you are wiring the board fan correctly. You can either keep the original wiring, or you can do it yourself to a static voltage. Keeping it in the static voltage makes the fan run all the time.
- Then all you have to do is solder the wires following the instruction manual you get with your fan package. While you do all that, make sure you are insulating the exposed wires and the step-down module.
As you can see, it’s not that difficult. But it’s not that necessary either. For the most part, you can make do with the stock mainboard fan. Now, some advanced users may need some extra features which you can get from upgrading the mainboard fan.
Also, for anyone who wants to reduce the noise, you can simply opt for a silent board to replace it instead of replacing the mainboard fan.
Replacing the part cooling fan
You will surely see a performance boost or some advantage with a part cooling fan replacement in your 3D printer. Here’s how you can replace the part cooling fan on your printer.
- First, you have to unplug the part cooling fan and cut the connecter from the original fan. Ensure that you are not cutting it too short; keep a minimum length that you can work with later on.
- Then, you have to remove the insulation from both the wire ends. Just removing 0.5cm will be more than you need.
- Now, you have, you have to solder the positive end to the positive step-down module input. Then, get the ground cable and connect it to the negative end of the step-down module.
- Then, you have to solder those original wires that you kept on the output source of the step-down module. Simply use yellow with the positive and blue with the opposing end.
- That’s it for the installation. To test and adjust the voltage, you have to plug the original connector in and turn the printer on. Then, set the part cooling to 100% and start measuring the voltage on the output.
- If it’s on 12V, then it’s working fine. But if it isn’t, then you will need to adjust it manually. To do that simply, take a screwdriver and turn the screw on the module. You can stop when you get it to 12V.
Conclusion
To sum it up, doing the Ender 3 fan upgrade is an excellent option for reducing the noise from your 3D printer. Especially, replacing the hotend fan and the power supply fan works wonders.
Many people go for this upgrade because of that purpose. Other than that, if you want to get a better experience and some specific features, you can go for mainboard and part cooling fan upgrades.
Contents