Are you struggling to get the perfectly smooth finish on your 3D printed models? Sometimes no matter what you do, you end up with prints that don’t look that professional. Even with all the correct settings and high-quality materials, this can happen. That’s when you have to think about sandblasting 3D prints.
Sandblasting your 3D models will give them that smooth finish and professional look you desire from your prints. It’s a great way to end up with perfectly printed 3D models that look exquisite.
If you don’t know anything about this, I will help you out. I will go through everything you need to know about sandblasting your 3D printed models. Let’s not waste any more time and get started with it.
Why sandblast your 3D models?
Well, it’s only natural that you would ask what’s the point of sandblasting 3D models. And what happens when you do so?
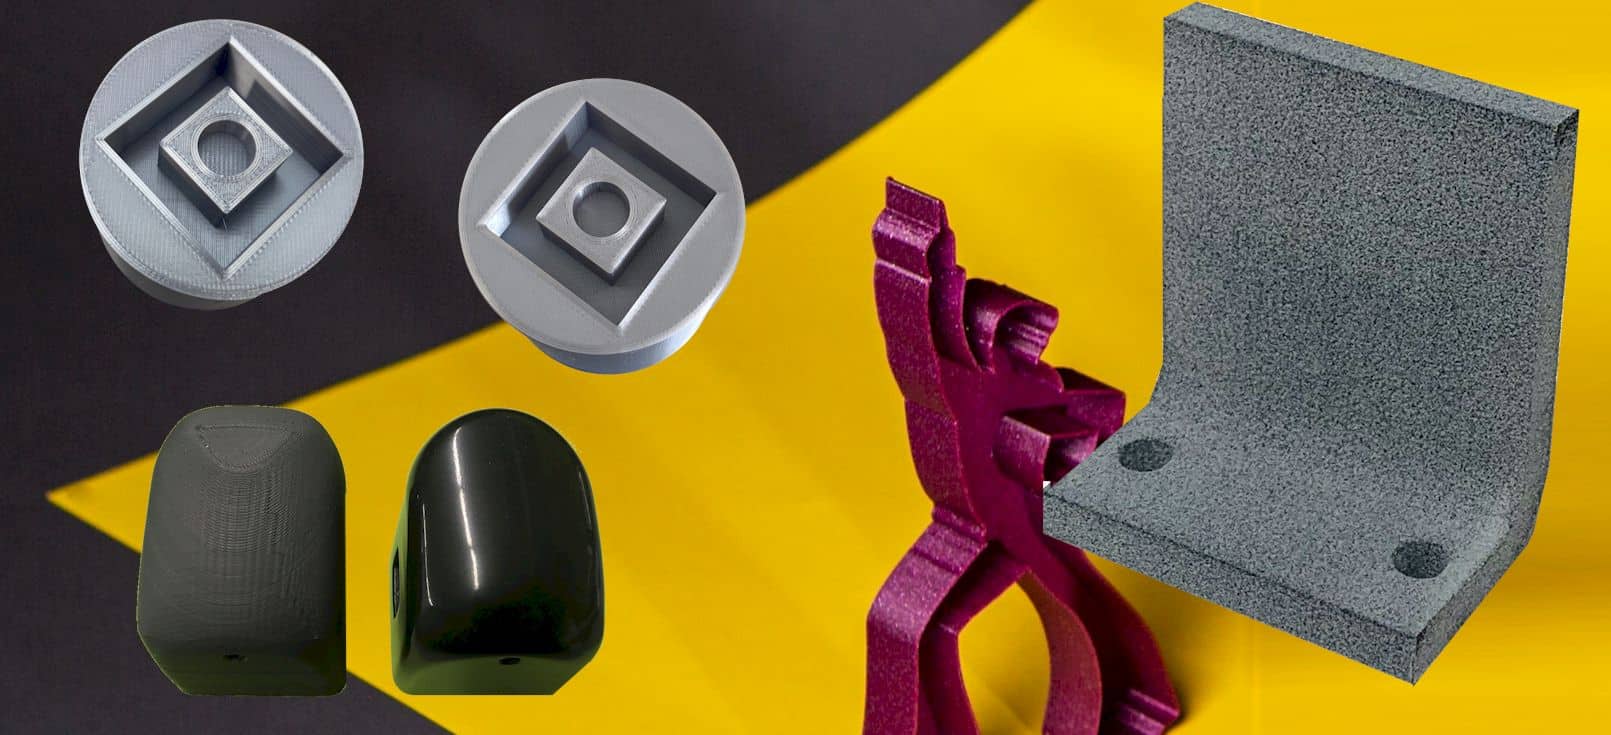
When you opt for sandblasting your 3D printed models, you are essentially removing or clearing out all the rough edges. This leaves the 3D models with a smooth surface area on them. It’s a great way to make sure the models you make are all of the professional quality.
Another reason for sandblasting is that it’s very easy to do. You don’t need to be an expert or don’t need any prior experience to get the hang of it. It’s pretty straightforward, and almost anyone can do it without any issues whatsoever.
However, you have to be aware that you shouldn’t sandblast some materials. One instance can be PLA filament material. This material is a bit too soft to bear the abrasive impact of the sandblaster.
Also, when you are sandblasting, you have to be very careful about the corners. They can be a bit weak, and you can break them off in the process. In those areas, you can use sandpaper to get a better finish on them.
Related: Best Cheap Resin 3D Printer
Making a sandblaster
Luckily, you can make a sandblaster yourself with some tools and equipment. So, if you want to go with the process of sandblasting your way through your 3D prints, this is the part you need to focus on. Let’s see how you can make a sandblaster at home.
To make your sandblaster, you will need the following things –
- An Air gun kit,
- A metal file,
- A drill
- A box cutter
- A plastic bottle
Once you gather all this stuff, you can begin with the following steps I will discuss right now.
- First, you will need an Air gun kit with an air compressor. Or you may need to buy an air compressor separately.
- Then, you have to use the metal file to create a hole in the air gun nozzle. The hole needs to be just a bit further from the joint.
- Then, you will need to drill a hole in the plastic bottle’s cap. You will also need to drill a spot at the top of the bottle.
- Next, insert the air gun barrel inside the tip of the bottle. Before that, you can fill up the bottle with your preferred sandblasting media.
- After filling it up, you can close the cap and connect the hose of the air gun to your air compressor.
That’s pretty much the gist of making your sandblaster for smoothening 3D printed models. Now, let’s check out the different things you can shoot out from a sandblaster that you make at home.
Related: Best 3d printer for flexible filament
Things to use for your sandblaster
You can use several things for shooting out of your sandblaster. Each of them has its effect on whatever you want to do. Let’s see which one you should be using for what purpose.
Glass beads
You can use glass beads when looking for a professional, smooth finish. It provides a matte feel by taking away all the unnecessary shine from the material.
You can use this one when you don’t want any glossiness coming out from the 3D printed model; you give a lovely finish to your 3D models. There are several grades you have to go through of this variety.
Silicon Carbide
When you have to remove a lot of material from your 3D printed models, this is the option for you. It’s pretty aggressive in action also works very quickly. So, if your goal is removing a lot of material very quickly, you can use silicone carbide as your sandblasting medium.
The ideal situation for using this is on larger models where you have to spend a lot of time getting a smooth finish.
Soda
Even though this may not be that useful for sandblasting 3D models, but still, it’s good to know about this. Using soda will help you get rid of paints or rust from materials.
Another purpose you can use this one for is getting a delicate sandblasting effect. This is perfect when you only need a bit of gentle sandblasting to get that smooth finish. However, it can be a bit too slow at times, so you have to be aware of that.
Silica sand
Well, I saved the most popular one for the last. You can use it for most material sandblasting. However, there are some things to be wary of when using silica sand.
The first is to take safety measures, like wearing a respiratory mask. Silica sand can impact your respiratory system, so you need to use a mask; otherwise, it can be risky.
These are the common mediums that you can use for your sandblasting operation. Depending on your needs and what results you want to get, you can choose any one of them.
Wrap up
All in all, sandblasting 3D prints is undoubtedly a great and quick way to get those smooth finishes on your 3D printed models. But if you feel like it’s not the right one for you, you can still go with the other two methods.
Sanding is a good choice when dealing with something delicate and challenging. And if you want a glossy finish on your 3D model, then going for vapor smoothing is perfect for you.
Contents