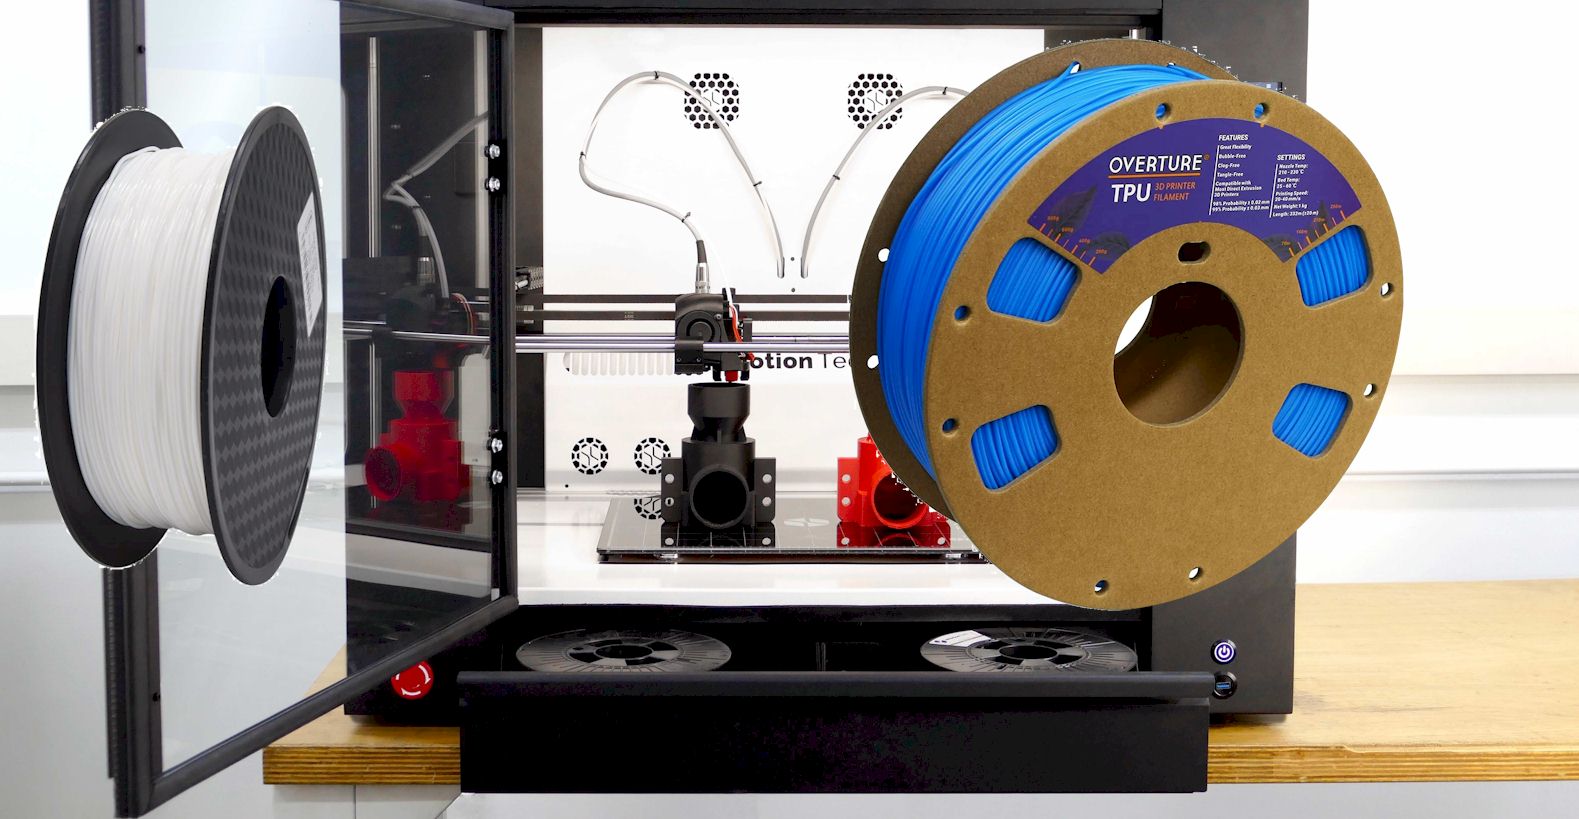
Are you thinking about printing some flexible 3D printed models? If you dove into that a little, you would know TPU is one of the best materials for printing flexible models. You can get a great level of flexibility in your 3D printed models using TPU as your filament material.
Now, just like the properties of the material, the settings on your 3D printer will also vary for TPU. Here, I will go through the best TPU print settings that you can get for printing using this material. Going through this will help you out a lot if you are starting or planning to start 3D printing with TPU.
Let’s not waste any more time and jump right into the whole thing.
Why TPU filaments, and how does it work?
Well, before I take you into the settings and process, let’s talk a bit about the filament materials itself. Why would you choose TPU, and how can you implement it in your 3D models?
First of all, TPU is a short form of Thermoplastic Polyurethane. The material is well known for its elastic property. It’s not just about 3D printing; whenever you need to work on something that requires a flexible material or want flexibility, this is the material. Along with the flexibility, this one also has abrasion resistance.
While they are great for flexibility, they also offer durability. So, whenever you want to get a flexible model that can last for a long time, TPU should be your choice.
Now that you know a bit of the material let’s get on ahead with the printing of TPU and how it works out for you.
Printing 3D models using TPU filaments
There are several things to go through when you are going into 3D printed models with TPU. Things like preparing the printer for TPU, getting the optimal settings for the best results, and the actual printing process. Let’s get through these different factors one by one.
Related: Best Filament for Ender 3
Preparing your printer for TPU
Since TPU is a bit different from PLA and ABS in properties, you will also need to prepare your printer for that. There are plenty of things that will need a bit of readjustment and special care for printing with TPU. Here are the things you have to work on for printing using TPU.
Adhesion Layer
The first thing you have to work on is making the printing surface adhesive. You will need to spread an adhesive layer on the printing surface to do that. Please make sure the layer is thin; otherwise, it may make the print removal process a lot harder than you can anticipate. Simply, using paper glue can get the job done here without any trouble at all.
When you don’t prepare your printer with proper adhesive, it will cause issues in your TPU printing. If you want to avoid the hassle of putting glue on your print bed, I recommend using a powder-coated sheet in that scenario.
Having a suitable adhesive will ensure you are not damaging the models when you try to remove them from the printer.
Managing the printing speed
You have to keep in mind while working with TPU that they respond well when the speed is slow. This means you should always use a comparatively slower speed on your printer when you are dealing with TPU. Usually, keeping the speed at 20mm/s is a good starting point and works quite well for TPU.
If that doesn’t work, then you can try out the different speeds but make sure not to exceed over 30mm/s or even get to that point. Try keeping it lower than that. You can also follow the instruction from the manufacturers of the TPU filament you are using. Typically, they will have speed recommendations on the packaging or the manual.
Now, the reason why you should use a slower speed is the fact that TPU can easily clog up your nozzle when you use a high speed. To avoid this from happening, always use the recommended speed for your particular TPU. If you can’t find anything, then start with 20mm/s and work your way around that.
Extruder requirements
Well, first of all, you have to make sure that the printer you are using is compatible with printing TPU material. Usually, one of the key requirements for that is a 250degree temperature on the printer extruder. Without fulfilling this requirement, you can’t even begin printing and may even ruin your printer altogether.
Aside from all these preparation factors, keep in mind is how you store the filament. TPU can easily grasp moisture and water. So, you will need to make sure that your TPU material isn’t getting in touch with water and getting wet. You can do that simply by storing your material in an airtight bag or container.
Related: Best 3d printer for flexible filament
The perfect TPU printing settings to try out
Let’s get one thing straight; these aren’t settings that you must follow or use at all times. You can stray away a bit and try out different settings suitable for your needs. However, the settings I am going to discuss here are great for starting. From these settings, you will get an idea of how you should be adjusting them to get the best results in your case.
1. Extrusion temperature settings
The extruder temperature is the first thing you have to factor in for using TPU as your filament print material. Without the proper temperature, you won’t even have any filament printing out of your printer.
Ideally, the temperature of the extruder should be hot. You can try out anything between 220 to 250 degrees for the extruder temperature. Usually, staying within this range should work out just fine for you. You can switch between different temperatures within the range to see which one gives you the best printing results.
You can also try out the forums and communities surrounding the filament and printer you are using. There you can find a lot of recommended settings by the users that you can try yourself.
2. The bed temperature settings
Usually, you can do without a heated bed when working with TPU as your filament material. Having said that, you can still use a heated bed if you want to. It’s not necessary, but it sure helps get better print quality in your 3D printed models.
It would be best if you tried to keep the bed temperatures at less than 60 degrees. It doesn’t matter whether the bed is heated or not; anything more than 60 degrees will not work for TPU 3D printed models.
3. Infill settings
The main reason you choose TPU as your filament material is the flexibility. However, it’s not like you will just end up with flexible models because of using TPU. You will need to go through the proper settings to achieve that flexibility you are trying to have in your 3D printed model.
The infill settings play a huge role in making your 3D printed models either flexible or solid. Several infill patterns support the flexibility factor of a 3D model much better than other types of infill patterns. You also need to play around with the infill percentage to ensure you are getting the proper settings.
You should try to get a low infill level on the prints to get much more flexibility in the printed models. But remember, when you use a lower infill level, you also lose some strength in the printed models.
So, when you need a bit of flexibility and strength, you have to stay somewhere in the middle for the infill level.
How to get the best printing results when using TPU?
Until now, you got to know the things that you should configure before printing with TPU. Going through those settings is important for getting started with TPU 3D printing. But what about getting the best results? How do you do that?
Well, that’s what I am going to dive into now. Here, I will go through some tips that you can follow and try to get the best possible printing results while using TPU as the filament. Let’s get through the different aspects that you should configure.
Infill
Just like I discussed a little bit earlier, having a lesser density in the infill will give you more flexible prints. You can try to go into your print setting in the slicer software and choose horizontal shells in the layers and perimeter tab. This will help add solid infill layers on the upper part of the model.
Retraction
When using TPU for your 3D printed models, I highly recommend working with lower retraction. Because with a higher retraction value, you will end up with a clogged nozzle which isn’t something you look forward to.
Now, if you are having a tough in finding the perfect retraction value, you can just start from the complete 0 or turned-off state. From thereon, try gradually increasing the value and see which one works out the best for your needs. Just make sure you are not increasing the value too much to clog up the nozzle.
Increasing hot end temperature
Well, you will need to have a decent temperature on your printer’s hot end to get the best results in your TPU printed models. Typically, the best solution is to go for extra five degrees than the recommended temperature by the manufacturer.
Using that extra temperature helps get better results than you would get with the recommended ones.
Use Direct Driver instead of Bowden.
For printing with TPU or any flexible material in that regard, you should always opt for a direct driver extruder setup. Bowden extruders aren’t the best choice for printing with TPU.
Yes, you can still print with a Bowden extruder setup, but it will be much more difficult and won’t give you the best printing results. This is why the recommended extruder to use for TPU printing is always the Direct Driver extruder setup.
Working with the feed rate
Typically, it’s better to use a slower feed rate than a higher one for printing with TPU. The reason is TPU has that elastic quality which can be a bit uncontrollable when you change the printing speed of your printer.
To get the best results from your TPU 3D printed models, I suggest going for a feed rate of 20 to 35 mm/s. This works out great, especially as a starting point. From here, you can very easily adjust the speed and find the perfect speed value for your particular preferences.
Avoiding rafts
You have to engrave this in your mind if you plan to use TPU as your filament material. Never use rafts while printing with TPU. Rafts tend to have a very high extrusion rate for creating the base layer. This can end up causing a lot of problems in the TPU printing process because of the properties of the material.
Simply following these tips will help you achieve some of the best results you can expect to get with TPU filament 3D printing. Try maintaining them, and as you go, you will find the settings and conditions that work the best for your particular needs.
Conclusion
All in all, knowing the TPU print settings is super important, especially if you are just starting. Well, it’s, of course, dependent on a trial-and-error basis in the beginning. But still, you would want to have a starting point and then move on to the adjustments to find the perfect settings.
Now that you know some of the general settings and conditions for printing with TPU, you can easily start your journey with it. Remember, these aren’t the only settings you have to use all the time. These are just some guidelines that you can follow along. It’s best to work around these and develop your personal best settings for the best results.
Contents
