One of the best features you get from the Creality Ender 3/3 Pro is its upgradability. And, you should take advantage of that feature as much as you can. Whether it’s upgrading hardware or firmware, you shouldn’t leave anything out. significantly, the firmware updates because they come with a lot of benefits.
Here, I have a complete guide on updating the creality firmware on Ender 3 and Ender 3 pro. I will take you through all the steps of updating the firmware. Without too much blabbering, let’s get on with the update process right away.
Updating the Creality Ender 3 firmware
Now, you get a huge advantage on updating the firmware specifically on Ender 3 compared to Ender 3 pro or V2. The stock firmware on Ender 3 is usually outdated Marlin firmware. It doesn’t have thermal runaway protection like the newer versions of the marlin firmware.
With this feature, you don’t need to worry about the thermocouple not responding, as the thermal runaway protection will immediately shut down the heating element to save your 3D printer.
Another thing that’s different with Ender 3 vs. Ender 3 V2 is the firmware update method. On Ender 3 mainboard, there is no bootloader, which is why you have to install the bootloader first. Whereas on Ender 3 V2, there is already a bootloader on the mainboard. So, updating the firmware on Ender 3 V2 is much easier than doing it on Ender 3.
Enough with all the explanations; let’s get into how you can update the Ender 3 firmware. There are two basic steps to do this. First, you have to install the bootloader, and then you have to update the firmware. Let’s get started with it then.
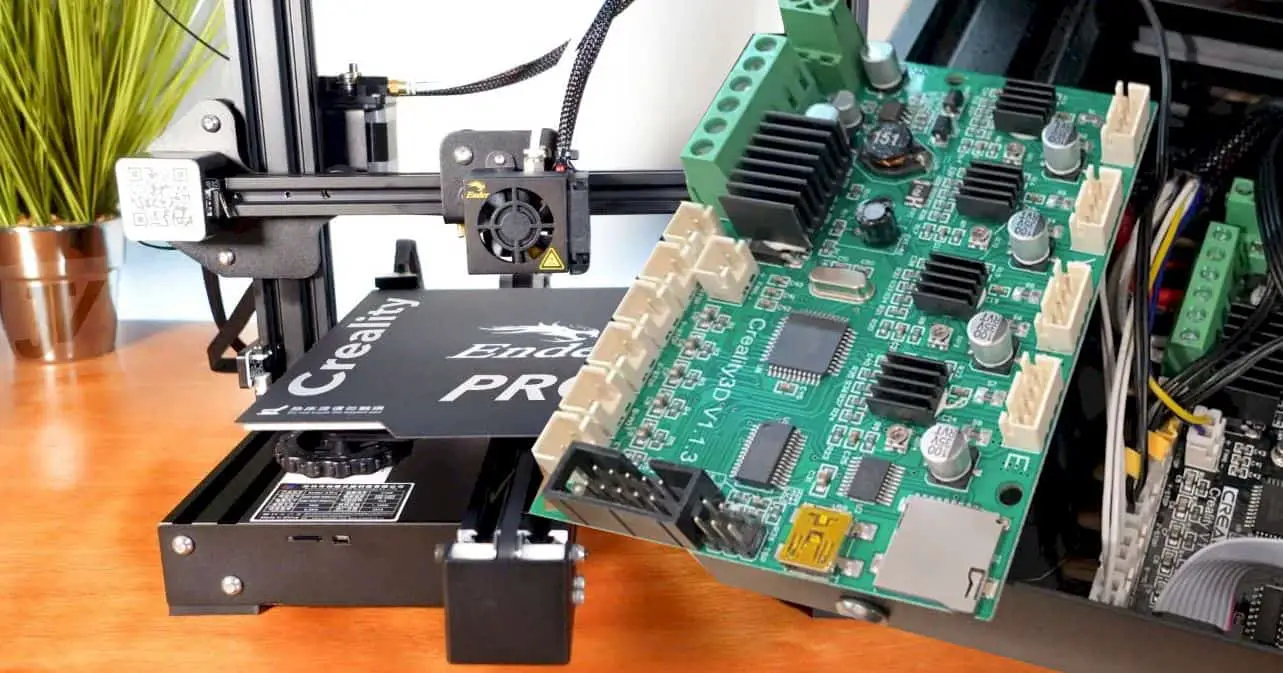
Installing the bootloader on Ender 3
Those who don’t know what a bootloader is are essentially a program that allows you to customize your system. You can upgrade your system and customize some internal settings that aren’t possible otherwise. Since Ender 3 doesn’t come with a bootloader, you have to install it by yourself.
To install the bootloader on your Ender 3, you will need some extra stuff. Let’s start with what things you need for the installation.
- You will need a total of 6 Dupont wires. Five of them have to be female to female, and one of them has to be female to male.
- Then you will need an Arduino Uno microcontroller which you can find from hardware stores or Amazon. You will also need a cable to connect that to a computer.
- Finally, you will need the Arduino IDE software on your computer. You can find that on the Arduino website.
Once you have all this, you can move on to the steps to start up the installation. Here are the steps you have to follow –
- First, you will need to set up all the things you need for the process, your computer, the Arduino UNO, and your printer alongside all the parts.
- Then, start the process by opening the Arduino IDE software on your computer.
- You have to look, for example, sketches. There you will see an option saying Arduino ISP; open it.
- Then, you have to find Manage Libraries and try adding the U8glib library. Remember to have the same U8glib name; otherwise, it won’t work.
- There is an add-on for Arduino called Sanguino. You have to add that to the board manager on the IDE software.
- After this, you can plug the Arduino Uno into your computer using the cables. Then, you have to choose Arduino Uno as the port and the board on the software. Finish it off by pressing Upload sketch.
- At this point, you have to select the Sanguino add-on from the menu.
- Next, you have to wire up your printer with the Arduino. When you are doing that, make sure the printer is turned off. The wiring will be tricky because there are no labels, so you must look for the schematics. The wiring will be done like this –
- MISO – MISO
- 5V – 5V
- GND – GND
- SCK – SCK
- MOSI – MOSI
- RESET – Digital Pin 10
With proper connection, you should see a blue light flashing on your Creality board.
- Then, all that is left is to burn the bootloader into the board. To do that, you can go to the tools tab on the software and click on the burn bootloader button. Once it’s complete, it will say burned successfully.
- Finally, you have to unplug all the wiring from your printer and unplug the Arduino from your computer. That’s it for the bootloader installation.
Steps on Updating the firmware
Now that your bootloader is installed, it’s fairly simple to update the firmware from thereon. You can follow the steps below to update the firmware.
- Go to the Marlin firmware website and download the recent version of it.
- You should get a zip file from the download; simply unzip it and go to the configurations folder. You have to copy all the files from the Ender 3 folder to the parent Marlin folder from the file. Overwrite the files.
- Then, you have to open the marlin—ino file in the Arduino IDE software.
- This prepares the file for uploading. Then, plug in your printer using the USB port and select the board to be Sanguino, like you did earlier.
- Next up, click on the upload button, and that should start upgrading the firmware.
- Once the upgrade finishes, you can unplug your printer and turn it on. Keep in mind that it takes a bit of time to boot up for the first time after the update. So, there is nothing to worry about.
Last words
All in all, that’s pretty much it for the reality firmware update on the Ender 3 and 3 pro. The whole thing is not that difficult to do once you flash the bootloader.
And if you have an Ender 3 V2, then updating the firmware is much easier because it already has a bootloader.
Upgrading the firmware on your Ender 3 is a must as it comes with many beneficial features.
Contents
