When you are a regular user of Ender 3, it is very normal that you’re dealing with the issues with Ender 3, not extruding at times! But can you guess why the 3d printer not extruding during printing? Indeed, the most common reason behind the Ender 3 not extruding is a misalignment in the extruder and carriage.
Additionally, Ender 3 not extruding may occur if the hole is too small for the filament to go through, the nozzle is badly clogged, or the Ender 3 speed is set too high. So always keep the printing speed at around 20 mm/s, and the printing temperature is not higher than 10 degrees Celsius above the ambient temperature.
Probably you have started scratching your head and looking for the solutions, right? If so, then I’d like to share with you the probable reasons and how you can fix them. So let’s talk about it right away!
Why Ender 3 Is Not Extruding?
Here are some reasons why your Ender 3 is not extruding properly. Check carefully what problem you are facing:
- If the hole of Ender 3 is too small for the filament to go through.
- When there are no holes in the side of Ender 3.
- The robot arm of Ender 3 is not working correctly.
- One reason might be that the extruder heater is high or low temperature.
- There might be something wrong with the limit switch or limit switch wire. It can cause problems if they’re loose or broken off.
- Another reason is that the extruder structure is not good, or the extruder’s MK8 nozzle and heating block are not assembled well.
- The filament is not extruding, or the diameter of the filament is too large.
- If the hotend of Ender 3 is the wrong one.
- The hotend on E3 needs calibration when you unplug E3 to protect the printer board and reset any error code that might occur during use.
- When the extruder has broken or jammed.
- The limit switch is not functioning or has broken.
- If the extruder temperature or the heating block temperature is too high or low, it might cause problems with the extruder heater.
- The extruder structure and the hotend assembly might be damaged.
How Can You Fix Your Ender 3 Extruding Problem?
Let’s find out the different ways to fix the extruding problems of your Ender-3. Make sure you know the reasons first to fix it up:
1. Restart Ender 3
The Ender 3 has identified that causes the extruder to lock up while operating. You can fix this issue by restarting it. A stopgap solution is to shut down your printer and plug in its power supply. It resets the extrusion drive back to its homogeneous state. You can use this approach for any time of trouble, such as antenna issues or a power outage. But it does not fix a broken drive.
2. Need Enough Voltage Supply
A smooth and continuous flow of plastic needs to produce quality results. If the voltage supply to the extruder drops for as little as a millisecond, it can cause jitter. It causes problems with extrusion, as well as causing your printer to generate noise.
You can solve this problem by using an adequate power supply of at least 24V. A computer power supply found in most electronics stores works, but specialized Ender 3 supply options are available in stores. If used with PLA filament, your printer will still work with a 12V power supply.
3. Check Your Cable Connections
A long black cable supplies your printer’s power supplies to the extruder by a long black cable. Make sure it’s connected to both the connector on the back of your motherboard and power supply.
Also, check and make sure that you have tightly screwed all the connections, such as heated beds and fans.
4. Check Thermistor
Thermistors are tiny heating elements that control the temperature of the hotend and extrusion area based on a temperature set-point. Check the thermistor to make sure you have it installed correctly.
You can also check it for continuity by putting one hand over the other and measuring how long it takes for one hand to heat up by about 10-15 degrees Fahrenheit. If your thermistor is giving you trouble, you need to swap it out for a different type or possibly resolder.
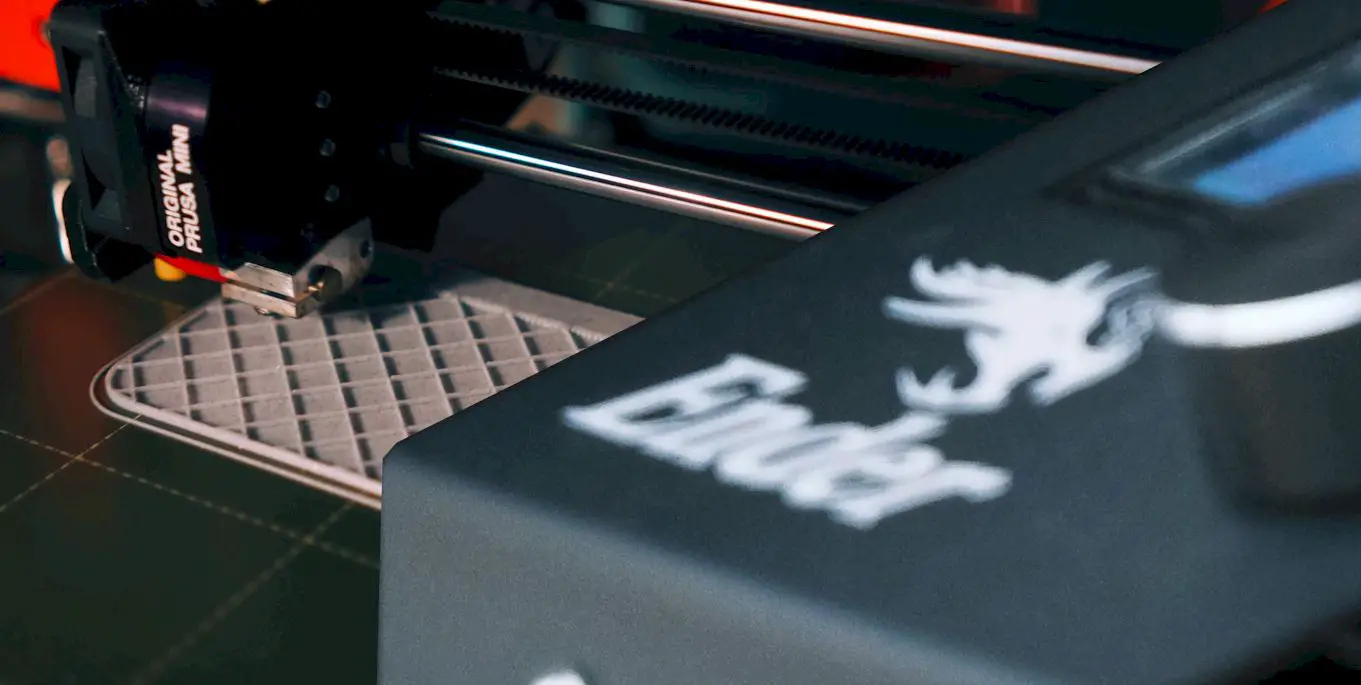
5. Clean the Clogged Nozzle
The next thing you will want to check is your extruder nozzle. You can do this by removing the extruder nozzle from the heater block and inspecting it for any clogs or deposits. It should be fine if you see out of the hole in the nozzle.
However, if you cannot see through it, then use a Q-Tip with some Isopropyl Alcohol on it and swab out any clogs or deposits that may have built up on the inside of your nozzle.
6. Check the DC Power Supply
If you’re having trouble with the DC power jack, try plugging your power supply into an extension cord or try a different one. If you have to use an extension cord, try using at least 16-gauge wire and preferably 18 gauge or higher.
Your printer comes equipped with a hefty 12-amp power supply. So, you do not exceed this rating when connecting to any other device using an extension cord.
7. Checking the Settings
Check your filament diameter when you have attempted everything else and still have issues. If you’re having a problem with the flow and are using a 0.5mm nozzle, try changing to a 0.
Ensure that your extruder tension spring is positioned directly in the center of where the extruder is not pushing filament. So it can press with equal force on both sides.
8. Check Extruder for Dirt and Debris
If you have checked everything else and are still having trouble, it could be a clogged nozzle or 3d printer filament not coming out of your printer with a bunch of debris attached to it.
It can cause improper tension settings. Set your extruder tension to 25 N/mm and check again to see if extrusion works.
Final Thoughts!
As you can see, several things may go wrong when you’re extruding PLA or others. That said, many of these issues of Ender 3 not extruding are relatively easy to fix. It should not discourage you from continuing to use your Ender 3 printer. Check the problems carefully, and try to solve them following the above-written steps!
Contents