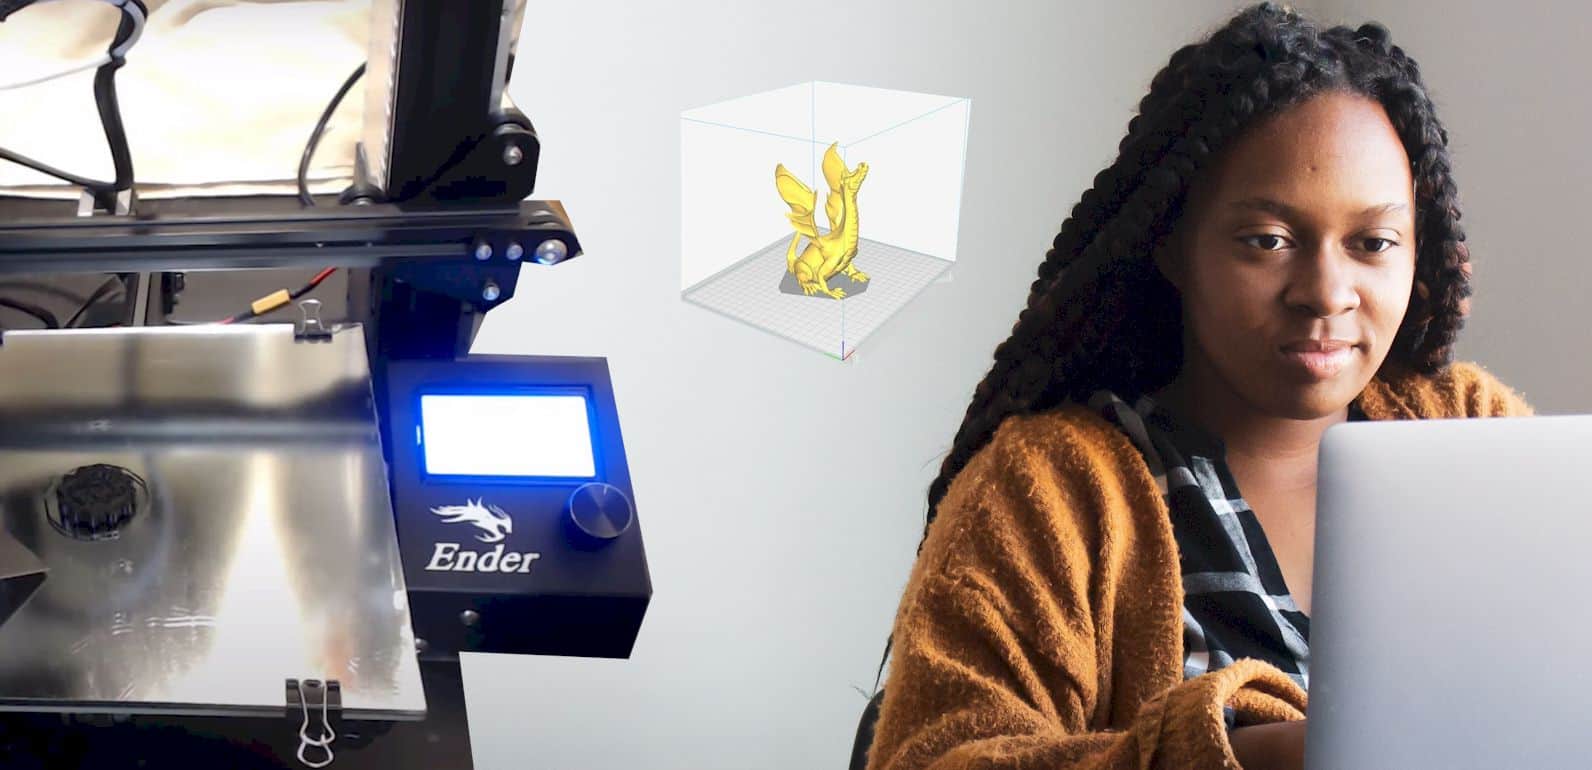
Ender 3 by Creality is one of the most popular entry-level 3D printers for beginners without any questions. If you have got one, you will have to learn the different CURA settings and profiles for other materials to print.
If you are struggling with the PETG CURA settings, you will find your solution here. I will go through all the settings and profiles you should be aware of in the CURA software for printing PETG using your Ender 3 printer.
So, without wasting any more time, let’s get going with the settings.
What are the Ideal PETG Cura Settings
Before I go ahead and tell you the settings for Ender 3, I will explain the general CURA settings you should know for PETG material.
- Temperatures
Temperatures are the most crucial factor to consider for any PETG filament. Typically, you should follow the recommendations from the manufacturer of the filament. They will give you the proper temperature for the nozzle and bed. These are the two temperatures you should be concerned about while working with PETG.
For the nozzle or hot end temperature, you should aim for 235-degree C. You may or may not need to do some fine-tuning. As for the bed temperature, I recommend going 70-degree C.
- Print speed
The printing speed will have a lot of impact on the print quality. And of course, it will also have affected the time it takes to print your models using PETG. With a higher speed, you can get quicker results. But it may ruin the quality a little bit. So, the best setting is the balance between quickness and quality.
For printing PETG the preferable print speed is around 40 to 50mm per second. As the top or bottom speed, you should go for 30mm per second. And the initial layer print speed should be 20mm per second.
- Retraction
Setting the proper retraction is essential. Without the appropriate retraction settings, you will face issues like stringing. This keeps the filament from oozing out too much from the nozzle. There are two settings that you have to go through for retraction. It’s the retraction distance and speed.
When working with PETG, you should get the retraction speed at 40 to 45mm per second. As for the retraction distance, you should keep it around 6mm if you have a Bowden set up. If you have a direct drive setup, then I suggest going for 2 to 3 mm.
- Build plate adhesion
PETG is a pretty sticky material and is well known for sticking on glass beds. So, you have to use some adhesion assistant to get a separation between the layers. Something you have to consider here is what category of adhesion you are choosing.
With PETG filament, Brim is a better method than raft or skirt because it doesn’t have as large of a surface as a raft. And the skirt doesn’t provide the necessary adhesion you need. As for the Brim width, you should keep it at 6mm.
Keeping these basic settings is essential for PETG filament when you are using the CURA software. Now, these are some general settings that you have to adjust a little with specific printer models.
That’s why now I will go through the process of getting the perfect settings on an Ender 3 printer. Let’s get going with it.
Related: How to Use CURA to Create a Temperature Tower
How to set the Ender 3 CURA Settings
There are several settings that you will need to fix on your CURA software from the default settings. Here, I will go through the different stages you should follow to get the best results. Remember, based on your project, filament brand, and conditions; you might need to make some adjustments.
The following settings can work as your starting point for making those adjustments. So, let’s get going.
- Bed adhesion
You have to go through several settings to get the perfect bed adhesion on your Ender 3. The first thing to do is set the bed temperature. The best range to try out is from 60 degrees Celsius to 70 degrees Celsius. The reason is, PETG usually comes with a high melting temperature.
For getting the best adhesion, you should use blue painter’s tape. This gives all kinds of PETG filament excellent adhesion and makes it easy to remove once printed.
As for the initial layer height of the printer, you have to play around a little with the settings. For that, you can try out increasing the height at 0.02mm intervals.
- Temperatures
Aside from the bed temperature, you also have to deal with the nozzle or hot end temperature. Without proper temperature, you end up with disasters.
To start with the hot end temperature, the best place to start at is 240 degrees Celsius.
If you have a Bowden setup, you have to make sure that you stay between 220 to 240 degrees Celsius. But in other cases, you can pump up the temperature up to 250 degrees Celsius.
- Print speed
One of the most important settings that are pretty hard to get right is the print speed. Yes, with too much speed, you can get the job done quickly, but it will lack quality. On the other hand, you may get a rate with less speed, but it will take a lot of time. So, it’s essential to find the balance between both.
For that purpose, you can use the retraction speed to something equal to or less than 40mm per second. As for the retraction distance, it should be approximately 6mm.
As for print speed is to stay between 30 to 50mm per second.
Usually, adjusting these settings is enough for getting the best possible results for PETG printing.
Related: Ender 3 retraction settings
Wrap up
All in all, you have to make sure you get the perfect PETG CURA settings. You need to know these because PETG is pretty different from PLA or ABS filament. Even though the settings I have discussed aren’t pinpointed, they are still a great place to start.
To get something preferable to your needs, I suggest adjusting the settings a little bit as per my suggestion. You can quickly get the best setting through slight adjustments without any questions.
Contents