Infill patterns are the structures that you create in your 3D prints. These structures provide your print with the strength and form it needs. While specific patterns provide strength, they also require more material. Some patterns can be pretty simple, and some can be quite complex in shapes.
To make things easier for you, you can consider infill patterns as the frame or building block of your 3D print. It doesn’t have anything to do with particular designs. It just provides that extra rigidity your 3D prints need for better durability.
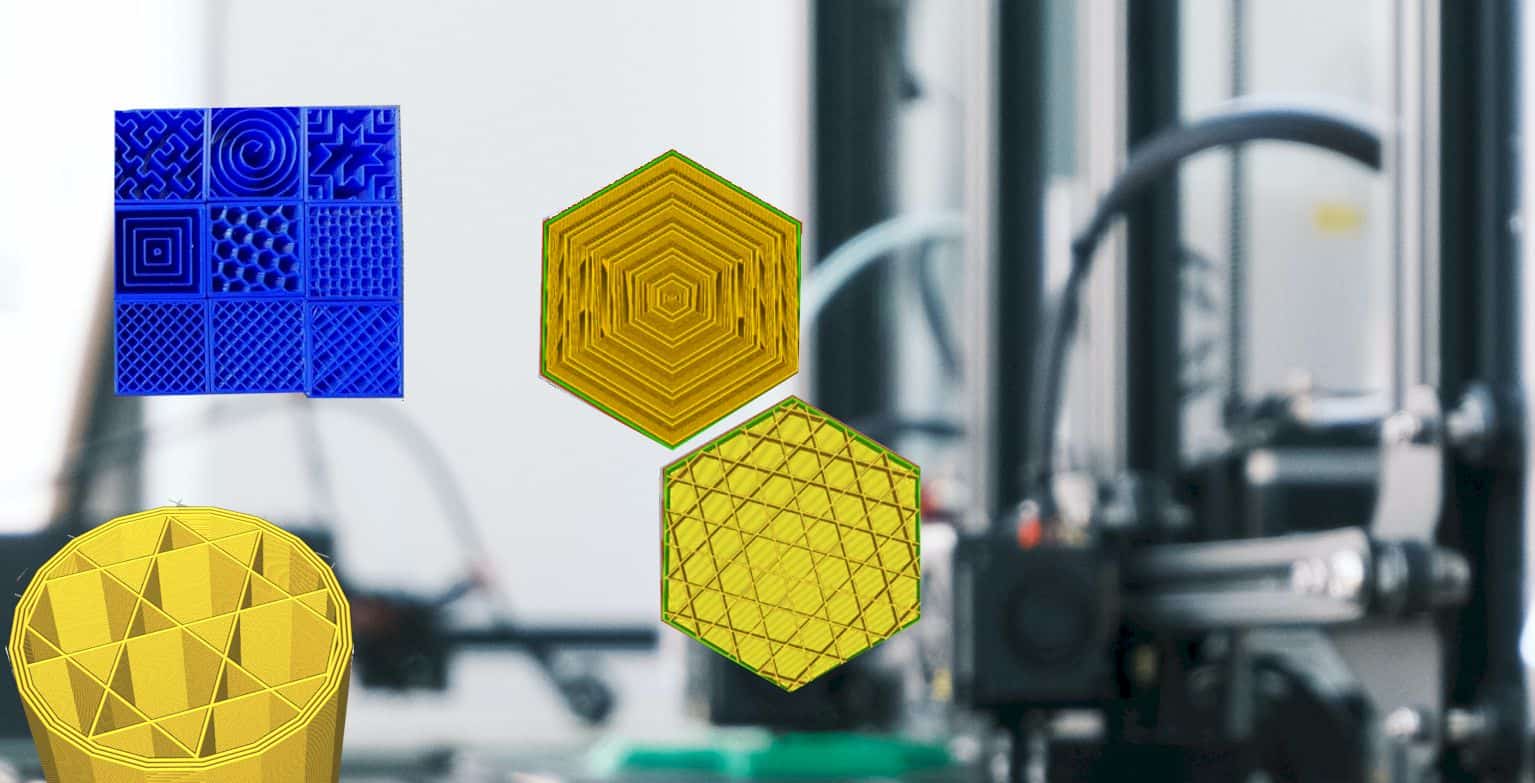
Different kinds of infill patterns
There are 13 different infill patterns you get while using CURA software. Finding the best one for your particular job can be tough itself. And it gets much harder when you don’t have any idea of them either.
So, let’s go ahead and see what each type of infill pattern offers and where you should consider them.
Lines
The lines infill pattern is something you can use for very basic needs. It’s very quick to print this infill pattern, and they don’t require too much material either. The pattern is also pretty straightforward, and nothing complicated going on with it. You can use the pattern for printing pieces that you will use for displays.
However, they lack the strength you might need in some 3D models. This is why you can’t use this infill pattern for printing strong objects. Also, if you are planning to drill on a model, you shouldn’t use the lines pattern.
Grid
Using grid patterns is pretty similar to using lines patterns. The difference is that now you will be using lines on X and Y axes. It’s much stronger than line patterns while still being pretty quick to execute. These are great for models that need some form of strength. Things like larger figurines can use the grid infill pattern.
Although, it’s not very strong for withstanding too much force. So, it’s better not to use the pattern for anything that needs to be pretty tough and go through rough conditions.
Cubic
The cubic pattern can be tricky to understand just from the looks, but it’s quite effective. It’s a combination of cubes placed at a 45-degree angle to create a strong pattern. An advantage you get with a cubic pattern is that it doesn’t take too long to complete the infill pattern. It offers a good amount of strength so that you can use this for some high-strength 3D printed models.
If you don’t need too much strength on your model, you can avoid using this pattern and go for something like a line or grid. There is no need to waste your filament material with lower strength requirements.
Triangle
You can consider the triangle pattern as an upgrade to the grid pattern. It is comparatively stronger than a grid pattern with those triangle shapes. This is an excellent infill pattern to use for anything that needs a lot of load strength. Items that will take a good amount of load require this infill pattern on them.
While they provide good strength, they aren’t the strongest pattern to use. So, they aren’t the best option for an extreme level of strength. At the same time, if you don’t need much strength on your prints, you shouldn’t use this pattern. Because then you will be simply wasting material and time as well.
Cubic subdivision
Cubic subdivision is an extension of the cubic infill pattern. Instead of producing consistent cubic sizes, this one has varying cubes in the patterns. The cubes on the center typically have a larger 45-degree dimension. But the ones on the edges and sides will be a bit smaller in size.
The purpose of that is simple; it doesn’t use as much material as a standard cubic pattern would. You can use this pattern for printing models that need to be strong around the edges. And the center doesn’t require too much strength.
But if you are printing something that you will need to drill on, this is not the one to pick. Also, if the printed model requires consistency, you have to avoid this pattern.
Related: PETG stringing
Tri-Hexagon
Tri-hexagon is the kind of infill pattern that combines triangles and hexagons as the core shapes. You can see the larger hexagons accompanied by smaller triangles to create the infill pattern. Because of this, it ends up having excellent resistance to some brute force. This pattern is perfect for items that need a lot of strength, such as shelving.
It would help if you did not use this pattern where strength isn’t necessary as it’s just a waste of time and material at that point. Also, when you are printing models that need to be lightweight, you should avoid this infill pattern.
Octet
Here’s a pattern you can use right away when you need something to endure vertical load. It’s a pattern that combines squares to create pyramids. Several small squares all over the place make a pyramid-like shape to create the infill pattern.
The thing with this pattern is that it uses quite a decent amount of material. For this reason, it’s best not to use the pattern for basic models that don’t even require that much strength. You can use other patterns with a lower material requirement for those.
Quarter Cubic
This pattern is pretty similar to octet; this pattern provides you with even higher strength than that. Here, you will be getting many more pyramids that are a bit offset from each other. Also, the multiple squares used in creating the pyramids are comparatively larger. Because of that offset in the pyramids, this pattern ends up with a lot more connection points. You can use this pattern for creating shelves that can carry somewhat heavy material.
It’s not the best infill pattern when your goal is to save up on filament material and your time. So, it would help if you didn’t use this pattern where it’s unnecessary to have higher strength.
Concentric
Concentric infill patterns are pretty unique. The design has parts that are pretty small in size and gets smaller every time the print is going on. As the parts go towards the middle, they keep getting smaller. It may even seem like the parts were printed more than once to create the pattern.
This pattern isn’t the strongest, but it provides good flexibility on the models. So, if you are printing something that needs flexibility, this is the pattern you should be trying out. It’s not the best pattern when you need strength on your models, especially in the x and y axes.
Zig-Zag
Well, as you can tell by the name itself, this is a Zig-zag pattern infill. It’s pretty similar to the lines pattern, but it gives the models better strength. However, they aren’t the strongest pattern to have in your 3D prints. But the pattern looks quite good, especially when you make a time-lapse of the whole thing.
However, if you are printing models that need high integrity structures, this isn’t the correct pattern. You can use this pattern for display pieces or figurines as they don’t need to resist any force for the most part.
Cross
You can use a cross-infill pattern whenever you need flexibility from your 3D printed models. These lines usually go through a change of direction right around 45 degrees and 90-degree angles. This movement leads to creating cross patterns which work out great for flexibility.
However, this pattern lacks the structural integrity to give your 3D prints the strength. So, if you need parts that require plenty of strength, this is not the way to go. The pattern isn’t meant for withstanding consistent force at all.
Related: Why sandblast your 3D models
3D Cross
If you want to stretch the flexibility of your part even further, then the 3D cross is the infill pattern you should be using. It’s pretty similar to the cross pattern but with even more intricacy. There are lines all over the place that aren’t straight; they go through many turns to give it that cross design.
While it’s great for the highest flexibility, it’s not that good for strength. The pattern isn’t suitable for any part that needs high strength and may get a heavy load. For that, you have a lot of other options.
Gyroid
For those wondering what I do when I need strength and flexibility at the same time, this is the answer. The gyroid infill pattern combines waves throughout the pattern that gives you excellent flexibility with good strength. Sure, it’s not the strongest one for heavy usage. Still, you can get a pretty decent amount of strength from this one.
The drawback with this one is time. It takes a lot of time to print using a gyroid infill pattern. Since the pattern doesn’t rely on straight lines, it’s harder to create accurately. As a result, it takes time to get this infill pattern on your 3D prints.
As you can see, different patterns will serve you different purposes. All you have to do is choose the one that meets your needs the best. Some are great for flexibility, while others are great for strength.
Also, you have to consider the times and material. Whether you want to save up time and material will also impact choosing amongst these infill patterns.
Infill density
Just choosing an infill pattern won’t give you the perfect results. You will also need to go through the proper percentage of infill density. Now, what is infill density?
Infill density is the value that decides how dense or rigid the infill pattern will be. A higher percentage indicates higher strength. So, if you choose 100% infill percentage, you will end up with the strongest infill pattern.
However, doing so will cause two issues. It will take a lot of time; second, it will use a lot of material. This is why you want to balance out the infill percentage value and never go with 100%.
This percentage depends on what function or benefits you want in your printed parts. If you are printing a functional position and will take on heavy loads, you have to go with a higher percentage. Usually, going for a percentage of 50% works out the best. You can go as high as 75% but make sure not to go more than that, as it can be unnecessary.
On the other hand, if you are not printing parts that require strength and won’t be taking too much load, sticking to a 20% infill density works out perfectly. Most slicer software has a 20% infill percentage by default. So, you can consider it as an average infill density.
Related: Overture Filament Review
Wrap up
To sum up, to find out the best infill pattern, you will need to consider your needs first. Different kinds of infill patterns deliver different results; you will have to decide on the pattern based on what result you want.
Whether you want a strong infill or flexible infill will have a lot of impact on that decision. Also, the material you have, how much time it takes also play a big role there. Now that you know every bit of that going with a particular infill pattern shouldn’t be your problem.
Contents
