There are plenty of different kinds of software you get to in the 3D printing world. Different ones have different purposes and give you different features. One of the best software that you can get for your Ender 3 printer is the OctoPrint.
It’s the perfect software to get for an Ender 3 that can elevate your experience of using your 3D printer. Here, I will dive deep into the basics of OctoPrint for Ender 3. So, if you already have an Ender 3 and looking to get the most out of it, stay with me till the end of this.
What is OctoPrint?
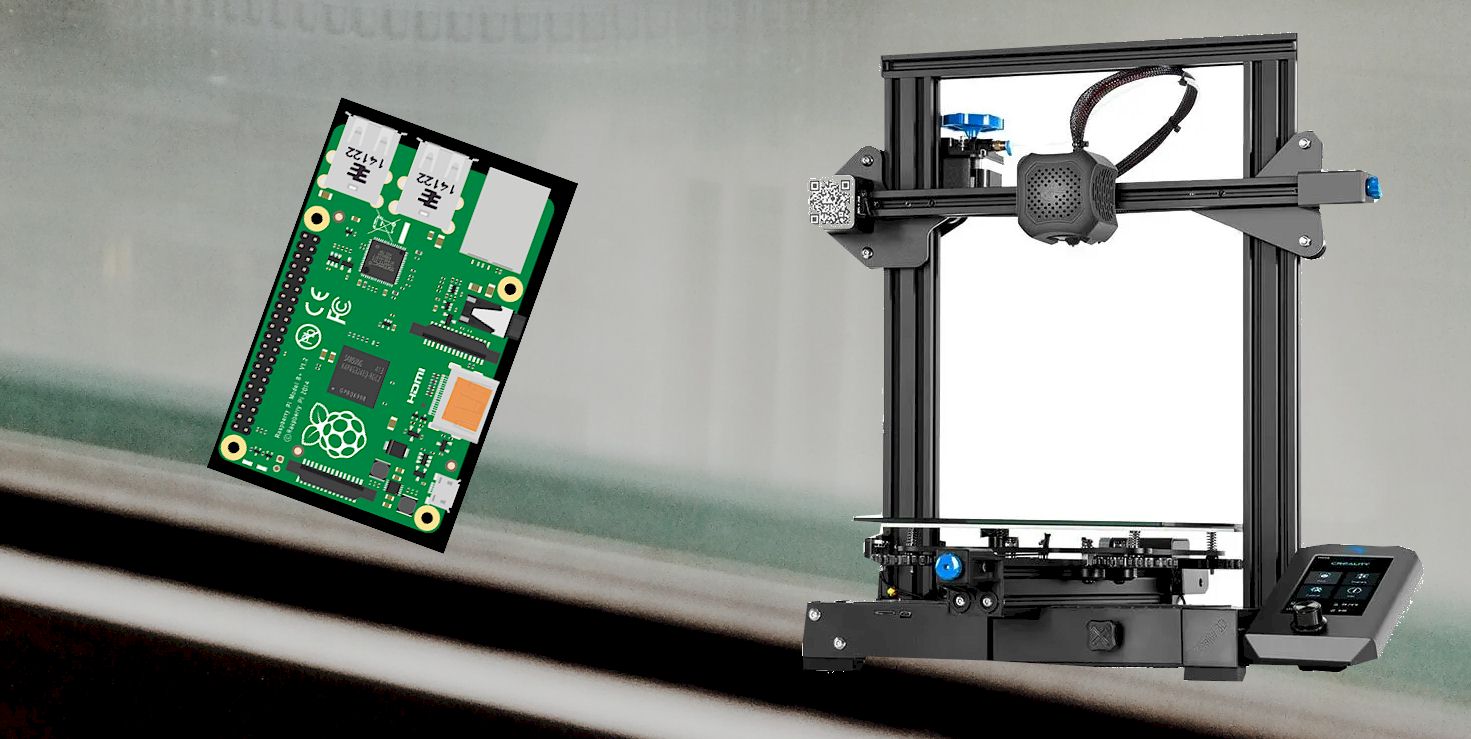
First, let’s get through what OctoPrint truly is. Well, as I said, it’s software that is entirely free to use. So, you don’t need to worry about any kind of payment or subscription with this one. This is software that runs on Raspberry Pi. If you have a Raspberry Pi and your Ender 3, you can get used to this software.
Related: Raspberry Pi
Now, the real question is, what does it do? Well, the basic function that makes this software so desirable is that it can help you track your printer from just about anywhere wirelessly. This software connects your 3D printer to the internet so you can have access to it from the web.
To understand the true value of this software, I recommend going through the benefits that you get from this one. That will give you a complete idea of how this works and how you can get used to it. Let’s get it going then.
Advantages of OctoPrint
There are quite a lot of advantages that you can get with using OctoPrint. It can completely change your whole experience of using a 3D printer. So, let’s get through the advantages one by one and see how they impact your 3D printing experience.
Wireless facility
Don’t have wireless features on your printer? No need to worry at all. This software enables wireless features and activity in your 3D printer. How?
Well, you simply install this software on Raspberry Pi and connect that to your 3D printer.
Once they are connected, you can enjoy wireless operation in your 3D printer, regardless of what printer it is. You can send the files and G-codes without touching any SD card or USB stick. You can even control the temperatures of the extruder and hot end wirelessly.
Altogether, using your 3D printer just becomes much easier and more exciting with this software.
Print remotely
Another excellent advantage is that you can print from just about anywhere. You don’t need to be close to your printer to start up a 3D printing project. You can connect to the internet and access your printer when you have this software installed.
This also means you won’t have to stay close to your printer to monitor the printing process. You can just leave the printing process to complete whenever it does. And then enjoy the results without having to leave any of your work undone for this.
Related: Mattercontrol Review
Open-source
One of the best things to have in this software is the fact that it’s open-source. You don’t need to go through any subscription or payment process to use the software.
Simply download it from the website and install it on your Raspberry Pi. You get the full software too. Also, you can edit the software codes in GitHub to suit your needs accordingly. Almost anyone can do this without having any coding knowledge at all.
Cloud slicing
This is the process where you don’t even need to have slicer software to trim your 3D versions. You can cut your 3D files without any computer remotely. This software helps you have cloud slicer software to do your projects remotely.
It’s also great for someone who doesn’t have enough space in their device to install slicer software. It also works perfectly if you have multiple devices and don’t wish to install slicer software on all of them. You can just use the cloud slicing feature and get the job done on the internet without any trouble at all.
Terminal commands
If you have done some coding yourself, then you already know what terminal commands are. Terminal commands are the codes that determine what function is currently going on through the software and tell you what’s happening in real-time.
Things like temperature messages or command features of your 3D printer and even SD card messages appear on the terminal commands. The best use of this terminal command is sending modified G-codes into your 3D printer directly. This can be very helpful as you won’t have to use other software to fulfill the same purpose.
Related: Octoprint Login
Helpful plugins
You get to experience plenty of plugins with the OctoPrint software. Some of the plugins can be very helpful to make your 3D printing process much simpler and better. You almost get a plugin for just about every function you can think of.
For example, with the Touch UI plugin, you can turn your regular 3D printer without a touch screen into a 3D printer with a touch screen. Using the software and a touch screen, you can access your 3D printer and work on it as if it was a touchscreen 3D printer already.
These are some of the most impactful benefits that you can get from the software. In truth, it’s software that you will surely want to have if you get to experience it a little bit. Since it’s free, there is no reason not to try the software out.
So, if you are planning to try it out or want to try it out after this, I have got you covered with that as well. Here, I will go through how you can install the software on your 3D printer system step by step. Let’s get going with it.
How to set up OctoPrint on an Ender 3
Now, if you are looking to set up the OctoPrint software on your Ender 3 printer, it can be a bit technical but not difficult at all. Just follow the steps I am about to discuss, and you should be good to go. Before I go into the steps, you have to get some things to start with the setup process.
Here are the things that you will need for the setup:
- A Raspberry Pi microprocessor
- An 8GB SD card
- A card reader
- USB cable for your Ender 3
- Micro USB male to female cable
- USB adapter
- Power supply for the microprocessor
- A Windows computer
- An IP scanner
Once you gather all these things or prepare them, you are ready to get on with the setup process. If you don’t have an item from this list, try buying them as none of them are that expensive.
Now, let’s check out the steps you need to follow to set up the software on your Ender 3.
Step 1: Getting the proper settings for OctoPrint
To make sure that OctoPrint is working correctly on your Ender 3, you will need to go through the following settings. Try to keep them as I describe here.
- Nozzle diameter: 0.4 mm
- Custom Bounding Box: No (unchecked)
- Heated Bed: Yes (checked)
- Origin: Lower Left
- Number of extruders: 1
- Form factor: Rectangular
- Height: 250 mm
- Depth: 220 mm
- Width: 220 mm
- Axes: Default
These are the printer settings you have to maintain to run OctoPrint properly in your Ender 3. Next up, you have to do some connection settings as well. There are only two settings that you will need to work on; it’s the serial port which will be /dev/ttyUSB0. And the other one is the Baud rate which you will be set to auto.
Keep in mind that you can’t change the connection settings without connecting the microprocessor to your Ender 3.
Step 2: Print OctoPrint parts for the process
In the next step, you will need to print several parts for mounting the different components properly. This includes the camera mount, the housing for installing the Raspberry Pi, and the buck converter housing.
You can easily mount the Raspberry Pi camera on the Z-axis stepper motor using the camera mount. This way, you will get a better overview of the model you’re printing.
Coming to the Raspberry Pi housing, you will simply mount the microprocessor along the aluminum rails of the printer. According to the Raspberry Pi you are using on Thingiverse; you can find designs.
Now, if you are planning to power the microprocessor using your Ender 3 printer directly, I recommend printing a converter housing.
Step 3: Attaching the Raspberry Pi to your printer
Once you have all the mounts and parts gathered, you can move on to connecting the Raspberry Pi. I won’t go into too many details on how to do all that because that’s a whole another topic.
What you do here is basically connect your Raspberry Pi using the USB cables to the Ender 3. Also, if you are using a separate power supply or using the same one as the printer, you will need to connect them accordingly.
You can follow along the process from the Ender 3 community if you want. It’s not that difficult to connect your Raspberry Pi to your printer anyways.
Step 4: Installation of OctoPrint
After you attach the Raspberry Pi to your 3D printer and turn it on, you can move on to the installation process of OctoPrint. First, you have to download the OctoPi operating system from the website or GitHub.
Then, you have to write that into a micro-SD card. The file is usually a disk image file, so you will need to write that into the SD card. You can use the software Etcher to flash the .img file into your SD card.
Step 5: Configuring OctoPrint
To work on the OctoPrint software, you will need to connect your Raspberry Pi to your network. You can simply add all of your network settings into the SD card and then use that to boot up your Raspberry Pi.
The rest of the work is pretty much all about connecting your Raspberry Pi to your local network. You will need to do a lot of configurations through your computer and in your Raspberry Pi to connect it to your network. This will give you access to the OctoPrint services, and you can start using the software right away.
Now, these are the basic steps that you have to follow to get started with your OctoPrint software on an Ender 3. I didn’t dive deep into the process, making things too long. I kept all the basics since we are discussing all the basics of OctoPrint anyways.
Updating the Ender 3 firmware
Before you can move on with any upgrades to your Ender 3 printer, make sure you have updated its firmware. Typically, the Ender 3 stock firmware that you get is outdated and doesn’t support many features that the later ones do.
So, make sure to update your Ender 3 firmware if you plan to install OctoPrint on it. Or, even if you just want to attach Raspberry Pi to your printer, you will need to update the firmware. You must update the firmware right away for those who are getting a new Ender 3 printer. Maybe not the same day you buy it but, make sure to update the firmware within a week.
Otherwise, you will miss out on various features, and some of the upgrades you go for later on may not even work on your printer.
Related: How to Update the Ender 3 Firmware
Conclusion
To sum up, you can get a lot out of OctoPrint Ender 3. It brings a whole new experience of using the printer, which wouldn’t be possible if the software wasn’t there. So, if you want to have the best experience while using the Ender 3 printer, I highly recommend trying out the OctoPrint software as it opens up a new realm for the printer. You will get a lot of value out of it for sure.
Contents
