When it comes to 3D printing, there are many things you will hear for the first time. Now, one thing plays a huge role in 3D printing, and it’s the G-code. Gcode 3D printer to ensure you are getting the perfect results for your work and regular language doesn’t work there.
Here, I will go through everything you should know about G-code and start your 3D printing journey. While I give you a complete idea, I will also recommend learning the language properly to get the most out of it.
Let’s not waste any more time and jump right into the whole thing.
What is G-code in 3d printer?
G-code is a kind of programming language. It’s a numerically controlled language, and it stands for Geometric code. This is the language that all 3D printers know and understand to read. You have to translate all the print settings that you set on your slicer software into Gcode to work on your 3D printing projects.
You simply put all your settings in the slicing software, which is usually very easy to use. Then, you will need to make the Gcode files that you can use with your 3D printer. These files will have the temperature, speed, support, and everything you need for a proper 3D model.
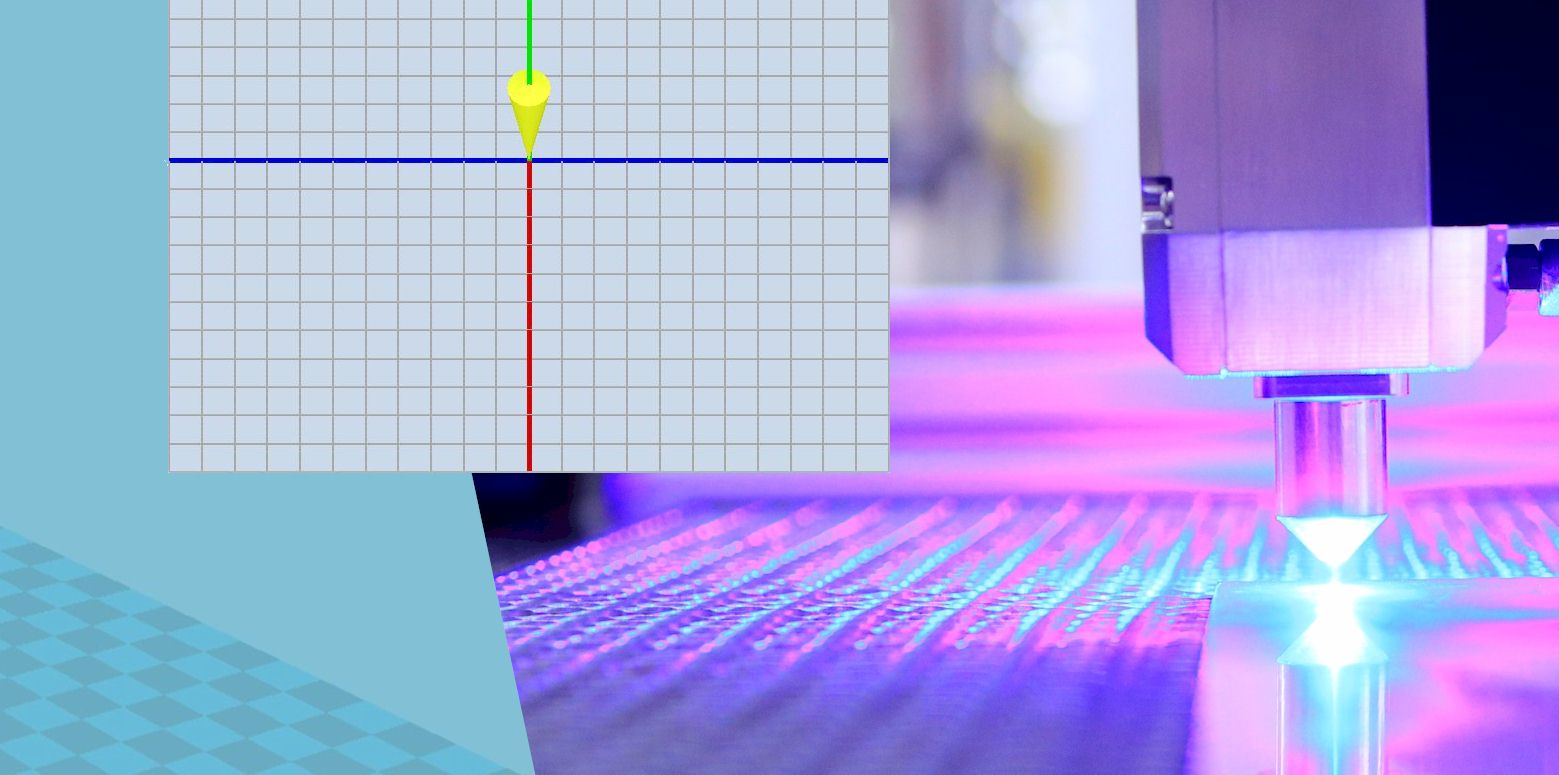
A typical G-code file looks like this
G1 F3000 X25 Y55 E0.06
Seems confusing, right? Well, let me explain it to you then. The first G1 is the command you can use to move the nozzle throughout the print bed. The numbers with X, Y, and Z represent their exact location on the three axes. The F determines how much extrusion speed it will have per minute. And the E is the indicator for the filament to be extruded from the printer.
Don’t worry; I will go through all these things in a bit. But first, what you should be worrying about G-code is how you can send it to your 3D printer. So, let’s get through that very quickly.
Related: CURA jerk settings
Are you sending your Gcode files to your 3D printer?
Luckily, there are several ways that you can use for sending your g-code file on your 3D printer. However, that is also the reason for making the process a bit confusing. Because now, you will be wondering which is the best option among them.
I don’t know which one is the best, but going through them may help you clear that out in your head. So, let’s get through them one by one, and then you can decide which one works out the best for you.
Using a micro-SD card
This is the most common traditional method of sending gcode files on a 3D printer. As most of the printers from all generations come with the SD-card feature, you can find this available in almost all printers. Inserting is also quite straightforward. There is simply nothing complicated about the process.
First of all, you can use a memory card reader for this purpose. Once you have sliced the CAD model of your 3D print into G-code, you can begin the process. Insert the SD card into the card reader and then insert that into your computer.
Now, copy the Gcode file and paste it into your SD card. Then, all you have to do is remove the card reader. And then remove the SD card from the card reader. Finally, insert the SD card into your 3D printer, and it should start working without any issues at all.
Related: Mattercontrol Software Package
Using a USB connection to a computer
Now, this might not be as common as using an SD card, but still, it’s a way to get the job done. Here, you will be simply connecting your 3D printer with your computer or your laptop using a USB cable. It’s an excellent method to use if your 3D printer and your computer are nearby.
All you have to do here is get a USB cable that can connect your 3D printer with your computer. Then simply connect both of them. Remember, you will need to have your 3D printer drivers installed on your PC. You may also need another software to establish the connection. For that, you can use the software Pronterface.
Once the connection is complete, you can easily send the G-code files from your computer to the 3D printer.
However, this isn’t the best method for working with a laptop. Because sometimes, you will need to print for long hours, so when you use your laptop using this method, you can’t shut it down or even put it on standby mode. This may disrupt the whole printing process.
Related: All about G92 G-code
Using Wi-fi connectivity
This has to be one of the fastest-growing methods for transferring Gcode files to your 3D printer. It’s much more convenient than any other method of sending G-code files. It works out very well, saving you from all the hassles of wires and card readers.
There are several applications you can find out there for this to work. Some popular ones are OctoPrint, AstroPrint, Repetier-Host, and so forth. Another thing you will need to use is the medium to create the Wi-fi connection. For that, you can either use a Wi-fi SD card or USB adapter. You can also use the OctoPrint software with a Raspberry Pi if you want.
Now, let’s get through a quick overview of the OctoPrint. Since it’s one of the most popular software, I recommend using it, especially if you are a beginner in 3D printing.
Use of OctoPrint
OctoPrint has to be one of the most popular additions you can find for any 3D printer regardless of its model. It’s a very user-friendly software that doesn’t require any payment cost for operation. In the OctoPrint software, you get to see the G-codes running in the operation and the return you get from them.
After the first learning curve of OctoPrint, you will love using the software for all your projects. It’s great for customizing your print settings and working with Gcodes with a lot of freedom as well. You can find complete guides on using OctoPrint all over the internet, so learning the software shouldn’t be a problem at all.
Well, these are the three methods you can use for sending Gcode to your 3D printer. You can use any of the ones that seem to meet your needs the best. There is no difference in performance. It’s just about the convenience and the way you want to do things. So, the choice tends to be more on the personal level.
Related: How to Set Z Offset in Marlin
Common G-code commands you should know.
If you want to learn the whole G-code language, you are always welcomed, but that’s not necessary most of the time. Some G-code commands are very common, and you should know about that regardless of whether you want to learn the language or not.
Here, I will be going through those common commands that you will use in your 3D projects on the G-codes. Knowing these will help you understand the work and give you room for customization. Let’s get going then.
G0 and G1
These are the commands you use in G-codes for any linear movement. At the same time, G0 refers to any kind of movement that is non-extrusion. The G1 covers all types of extruding motions that are linear. With G0, you get movements like travel moves or initial moves.
Both of the command functionality is pretty much the same. They both have a similar final position for the different axes. To write the code, you have to follow this method –
G1 X60 Y25 Z0.3 F2000 E1
So, this code tells the printer that it has to move in a straight line, which is indicated with the use of G1. Then, the coordinates have to use 60mm on X-axis, 25mm on Y-axis, and 0.3mm on Z-axis. As for the speed or feed rate, it’s 2000, which is related to the F. Finally, the E refers to the extruder material quantity, which is 1mm.
G28 and G29
These two codes have two different functions. The G28 is used for the auto home or homing process. This means it will bring all the movement to their home. This command is very much important for preventing the printhead from crossing boundaries. It’s something you should always perform before you start the printing process.
You can also home the printhead based on specific axes if you want. Here are the codes that you have to use for different purposes.
G28; This is used for homing all the axes
G28 X Y; Doing this will home only the X and Y axes while keeping the Z in its place
So, whenever you have to return your printhead to home, you can use the G28 code.
What about the G29, then? Well, it’s used for automatic bed leveling. Usually, you would want to perform an automatic bed leveling right after completing the homing process on your 3D printer.
Typically, this whole thing can vary based on different firmware and printers. That’s why I can’t go in-depth with all the parameters here. Still, I can tell you that you should know about G29 as automatic bed leveling can be pretty crucial to perform.
G90 and G91
These are the Gcodes that you can use for positioning. The G90 is used for absolute position, while the G91 is used for relative positioning.
When you have to move the print head to an exact position and know the parameters for that, you can use the G90 code. For example, let’s say you have to get your printhead to the X=30 position on the bed in a straight line. The code for that will be G90 G1 X30.
On the other hand, if you choose a relative position for your printhead, you have to use G91. This means the printhead will move a certain distance from it. So, let’s say you have to move your printhead 20mm on the X-axis. Then, you will use the code G91 G1 X30
To make things easier for you, when you have to move to a certain location, you use G90. And when you have to move a certain distance, you use G91.
M104, M109
Now, here are some codes that have nothing to do with the movements or motion of the printer. Both the M104 and 109 codes essentially perform the same operation, just with a little bit of exception. The main function of these codes is to heat the hot end of your printer.
Using the code M104 will initiate the heating and move on to the other line of codes on the file. So, it begins the process and moves on to another process.
On the other hand, the M109 code will initiate the heating, but it won’t move onto the next line of code until the hot end reaches its target temperature. Here’s how you write these codes.
M104 S160; This just sets the target for the bed temperature at 160 degrees and moves on to other processes
M109 S160; This sets the target for the bed temperature at 160 and doesn’t do any other operation until it reaches the target
Aside from these, there are plenty of codes you can come across. But knowing these can be crucial because they are pretty common, and you may use them for your regular printing projects.
Final thoughts
All in all, a Gcode 3D printer is something you can’t avoid. Even though, in the beginning, it may seem a bit overwhelming, it truly isn’t. Once you start getting the hang of the codes, you can easily read through all of them. And when you learn the codes correctly, you can have a whole new experience of using these codes and the slicer software to your advantage. This all-over makes your 3D printing journey much more enjoyable.
Contents